GoldWorking the Vintage Poppy Stamp

Hi guys...missed me? well ive been poorly but recently ive had the honour of being able to play with some of Be-Creative's new products so over the next week I will share my play so far.
SHOPPING LIST
1. Piece of Fabric and a hoop to hold the piece while you work.
3. Distress ink Grey
4. French Bullion 1mm Smooth in Bronze, Mid Gold, Matt Green, Matt Red and Matt Maroon
5. French Bullion 1mm Rough Check in Bronze.
6. A fine polycotton in a colour to match the fabric for the bullion and a thread to match the beads for beading. You will work with lengths of approx. 30cm when doubled up. Shorter if you prefer, but no longer.
7. A Fine needle

Stamp the gorgeous vintage poppies stamp onto your chosen fabric using a fabric in or a hybrid such as Tim Holtz Distress oxides, I’ve used a grey which contrasts nicely with the yellow background. Heat fix with a quick blast from a heat gun.

Using the bronze bullion, cut your bullion strands to approx. 6mm (try to keep them as even as possible) and satin stitch the background stems and ‘top knots’, the texture on the seed heads is provided by cutting the rough check bronze and stitching the pieces in loops.

Again cutting the bullion to 6mm, outline a leaf in gold using stem stitch. Then fill in the leaf with green bullion angling the bullion in ‘v’s around the stem lines


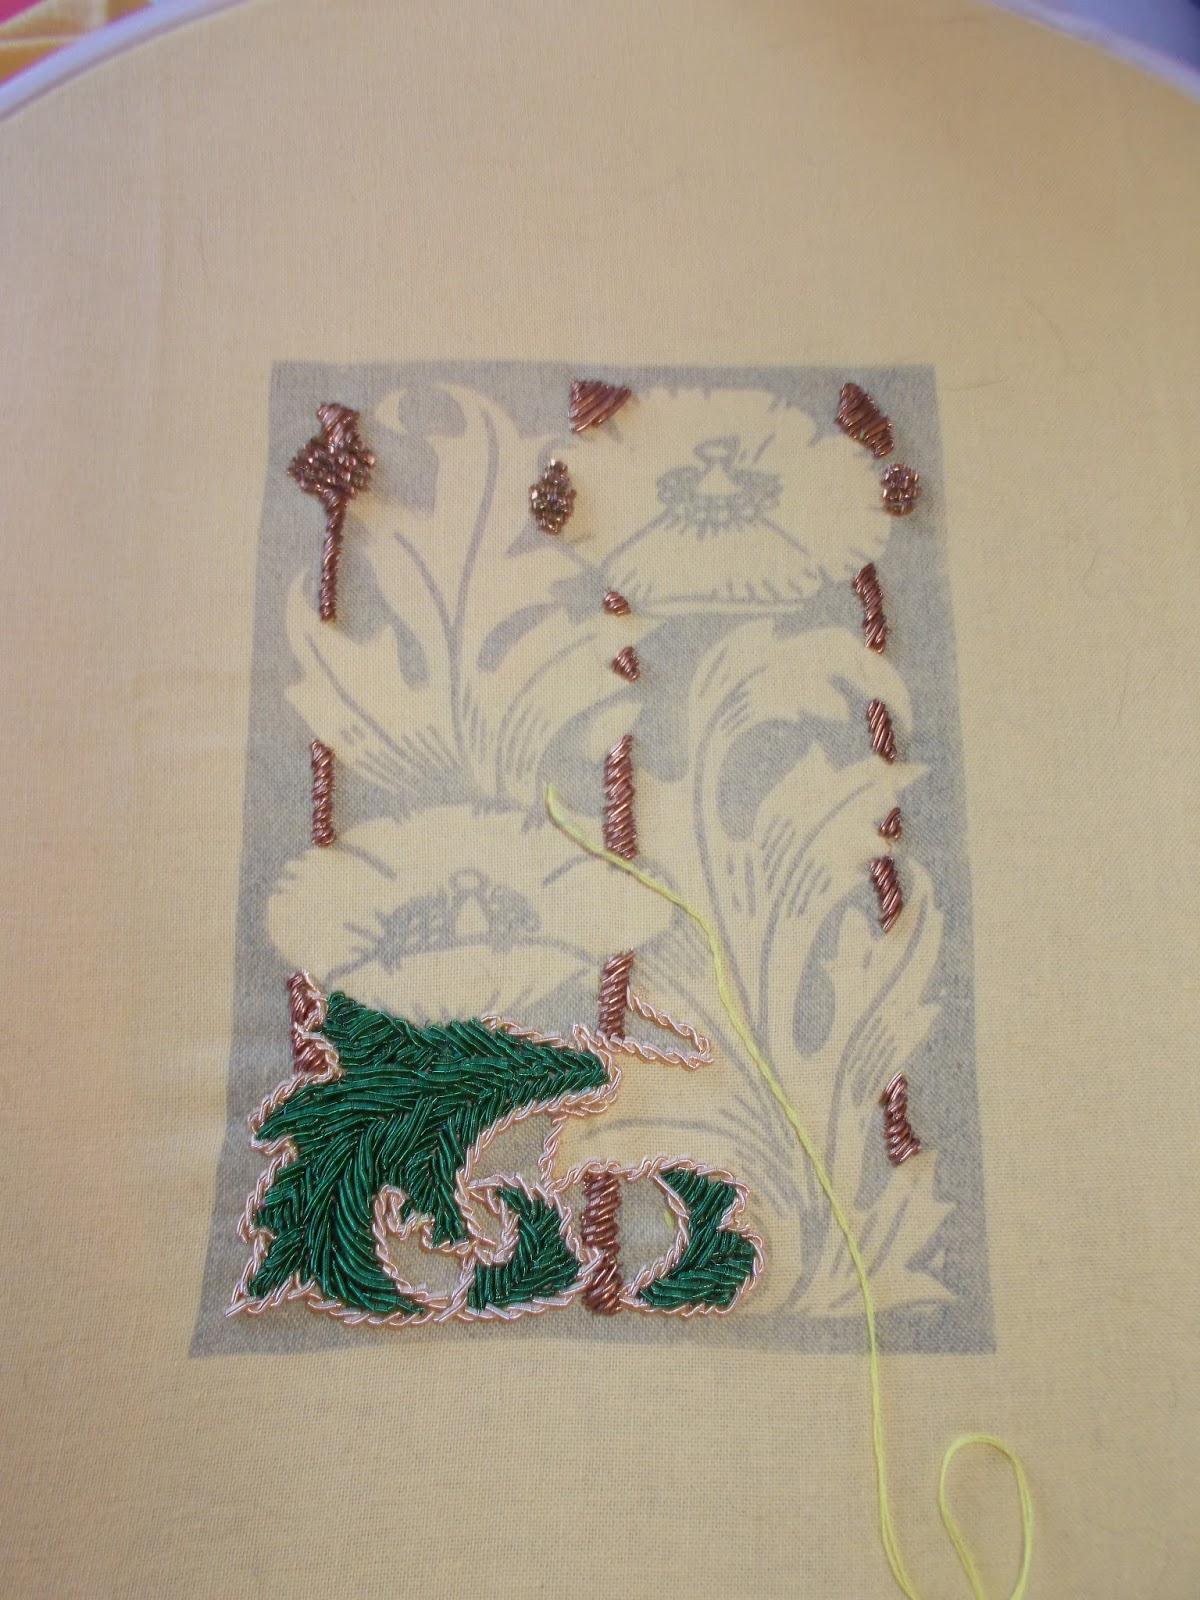


Keep at it...and yes it’s a slow process and you will find you have to cut shorter lengths to fill in small gaps, until all the leaves are done...bask briefly in a feeling of satisfaction before satin stitching in bronze centres to the poppies
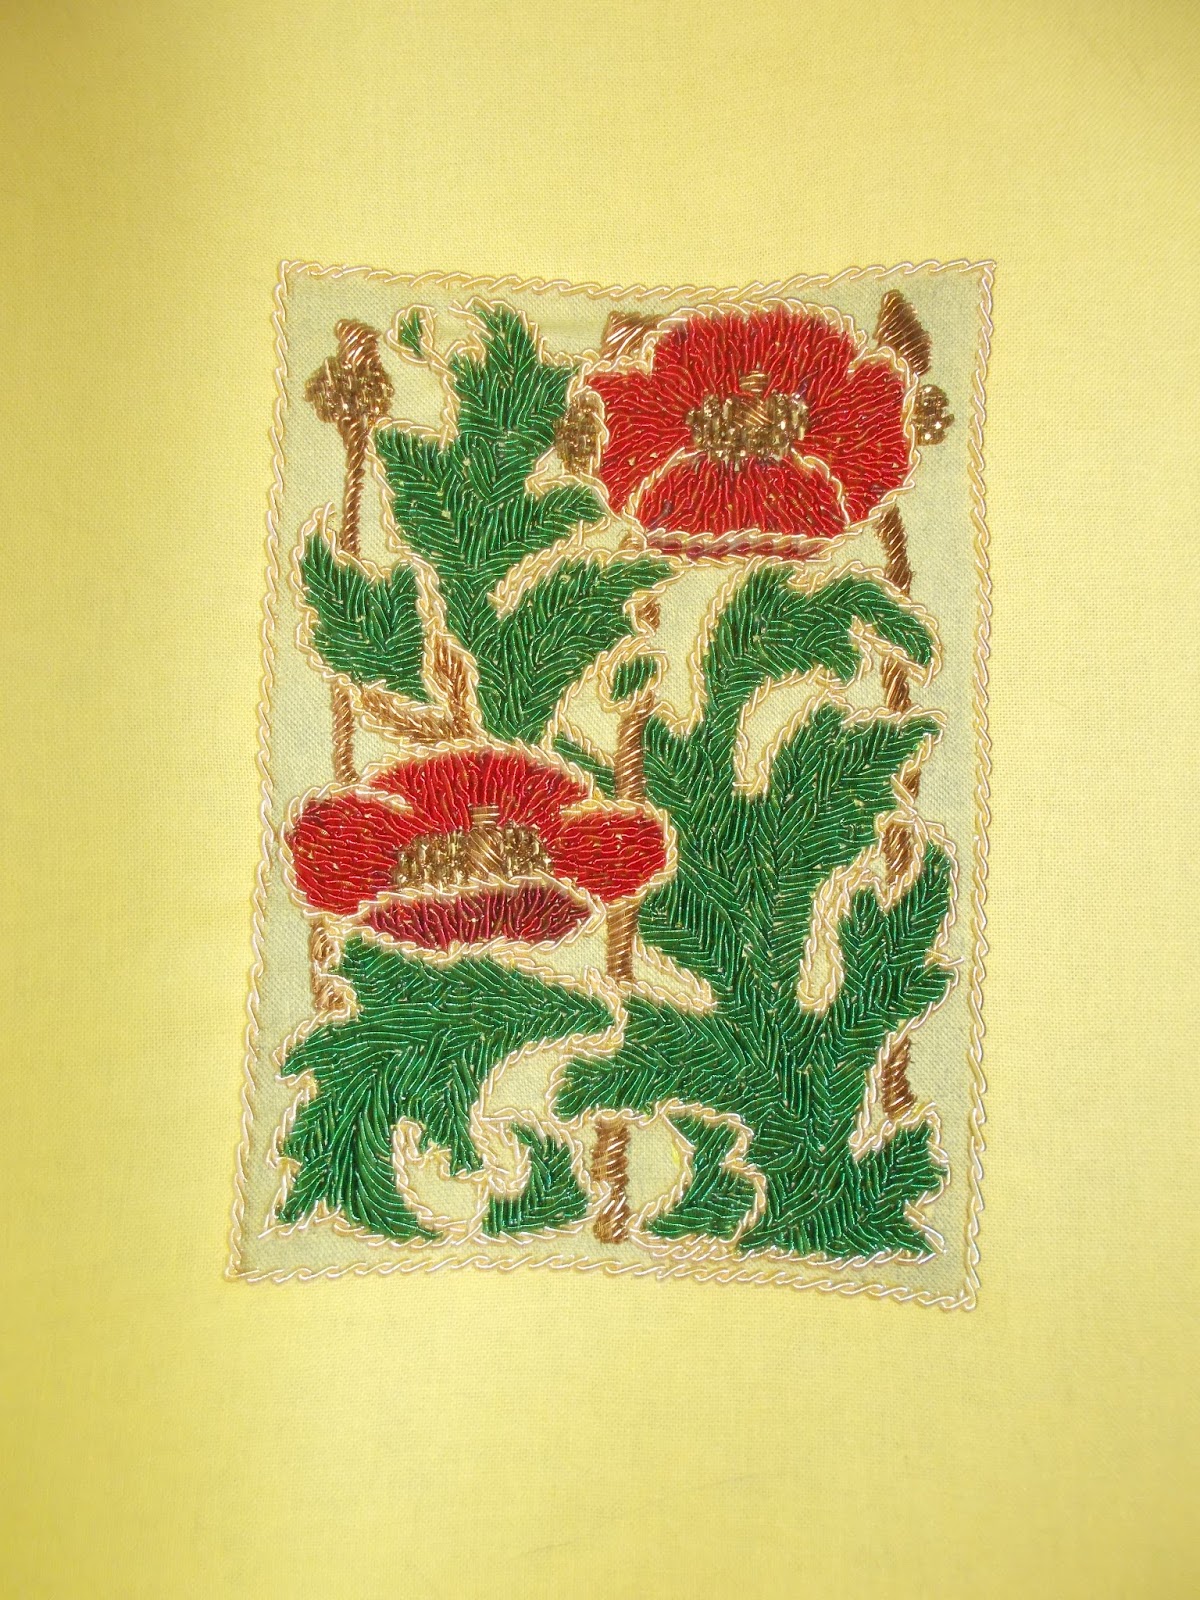
Outline the poppies in gold and use the maroon bullion to stitch in areas you want to be dark, using stem stitch, again with stem stitch, fill in the remaining area with red.
Outline the piece with gold stem stitch.
Remember throughout the stitching to make sure your fabric stays taught on the hoop.

Fill in the exposed areas with 2mm beads stitching no more than one or two beads at a time to prevent ‘pouching’.
You are done!!!!!! Now u can chose to either frame your pieces or turn it into a book cover or a decorative beaded purse maybe...

A closer look at the beading and bullion work