*Spectrum Noir ColourBlend Pencils
*Blending Solution
*Blending Stumps
Blending Pencil
White Card..Good Quality
Pencil
White Pen(Sakura Souffle*)
Heat Gun
*Items available from Hochanda
Phase 1
Find a picture of a rose you really like and print 2 copies.....use one to trace the rose onto your card
Phase 2
Use Jade and Pistachio and shade in hints of leaves in the background, a blending stump dipped in blending solution is then used to blend out the pencils and blur them a little...a quick blast with the heat gun...ive found it helps fix in the colour and allows you more blending layers.


Phase 3
Use Twilight Blue to block in the areas of shadow on the rose and white to add the areas of light....ive found this is important as the white almost repels other colours when you begin blending with the solution and remains strong....as always a blast of the heat gun to seal it

Phase 4
Start blending in the base colours....Cranberry, Fushia, Cherry Red, White, Black and Twilight Blue, starting with the petal that lies behind others....once you are happy with the colours use the blending pencil to blend the colours together and then a paint brush dipped in blending solution to clean the white and finish the blend....hit it with the heat gun again after each petal to dry off the solution as you cannot work another petal until the solution is dry (plays havoc with your pencils) Note: always try to move your pencil strokes in the direction of the petal shape, it makes the shading easier and the petals more alive.


Phase 5
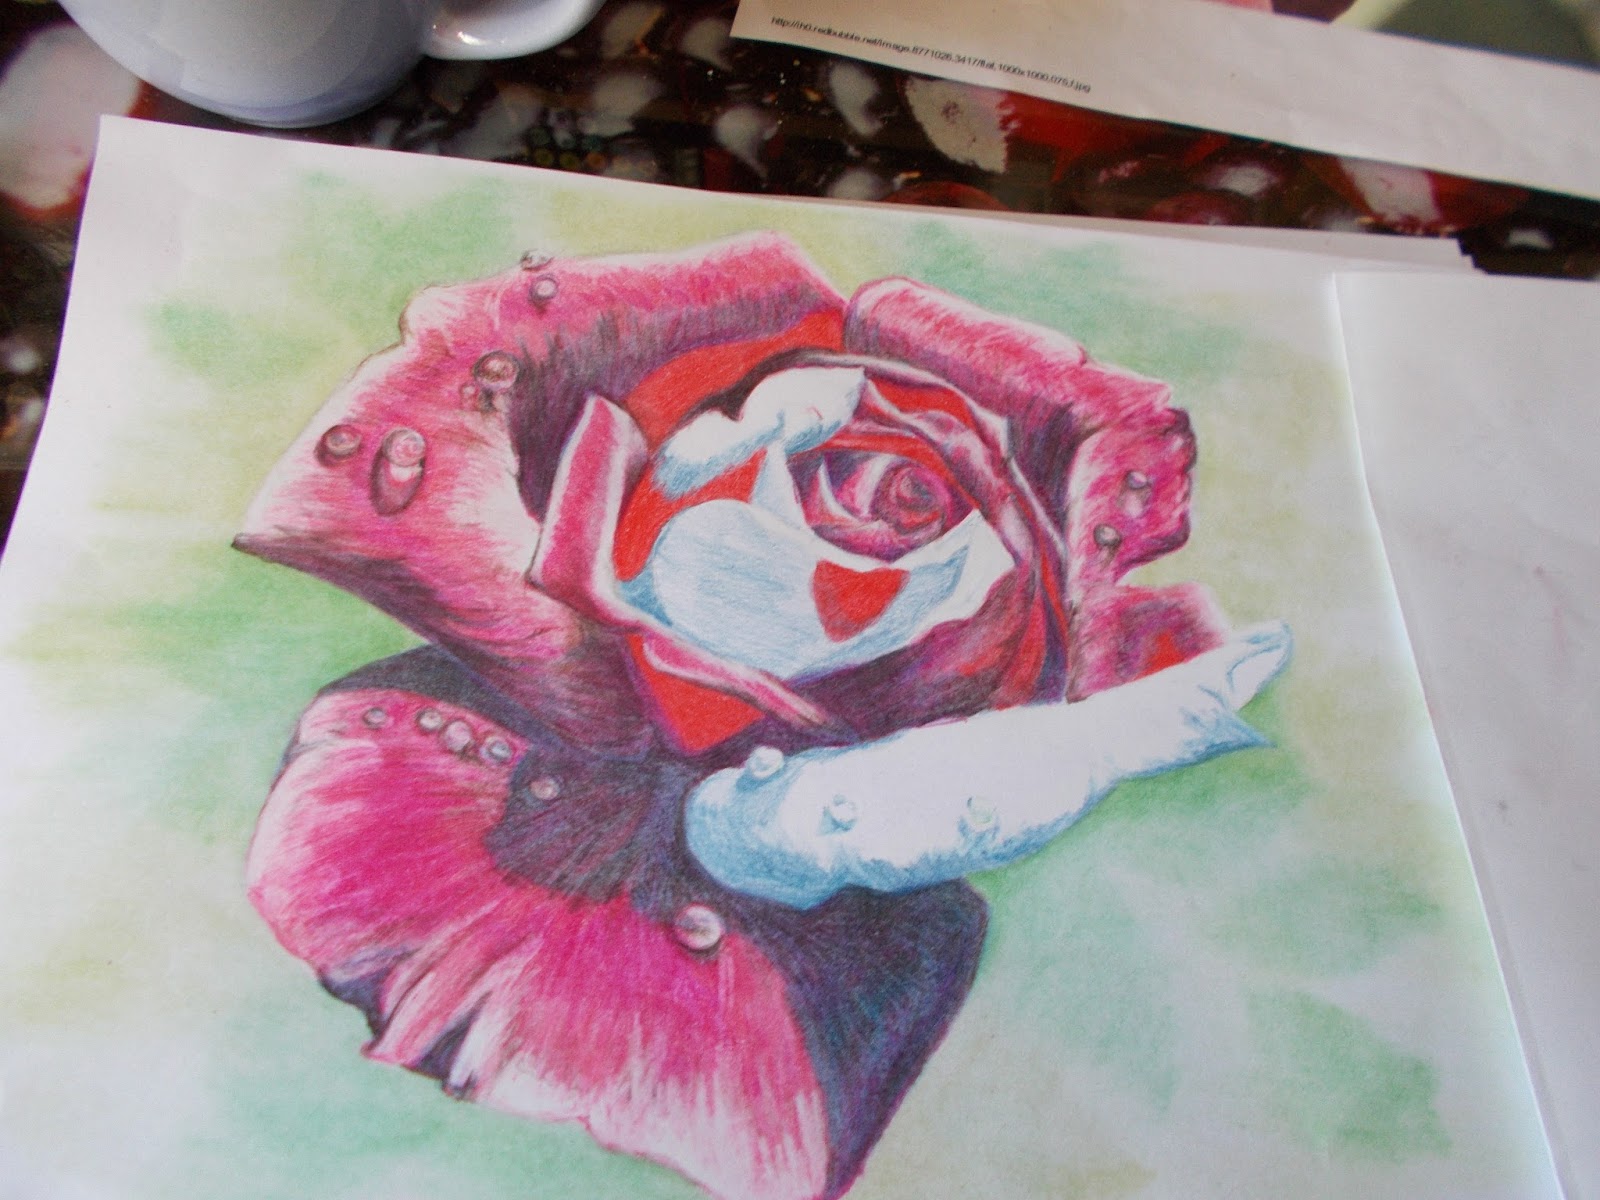
With the base..pinker colours laid in, its time to redden and darken the rose using, Black, White,Rose Red and Poppy, again work petal by petal, blend with the blending pencil and finish with a paintbrush dipped in the blending solution....Heat gun action as always.

Phase 6
Using Just the Black go round the shadows and darken where required...dont blend just hit with the heat gun

Phase 7
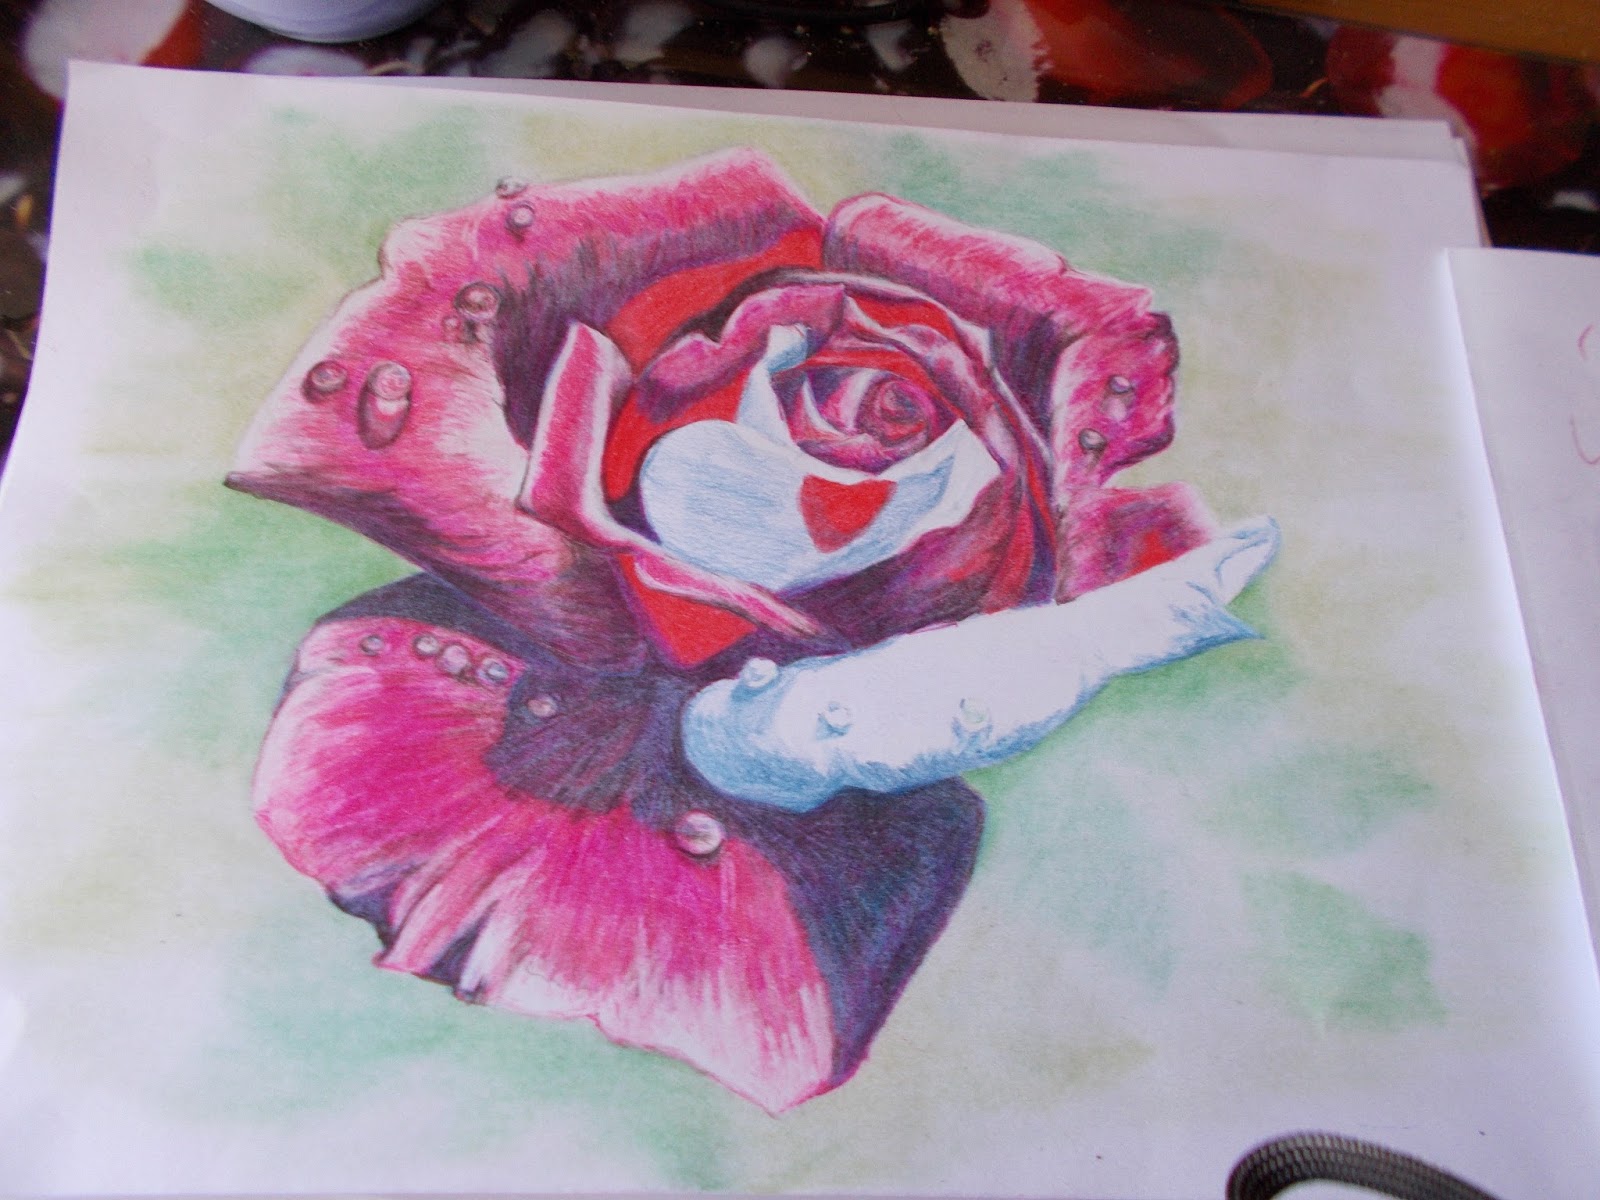
Blend with the blending stump for the slightly blurred effect. Hit with the heat gun.

Finishing Touches
Use the black to go round and darken the shadows on the raindrops and a white souffle pen to brighten the raindrop highlights and areas of white on the rose....no blending or heat gun...then sign and date your work.

There now, i hope you enjoy and feel inspired to have a go yourself...don't be scared and do play on scrap card before diving in...the Colourblend pencils are amazing to work with and a fantastic range of colours. Look forward to seeing what you do.