Showing posts with label Blending. Show all posts

Wednesday, 28 June 2017

Under the Sea 'Sunken Ships'


To make this project you will need:-

Several Sheets of white card

Brusho's 
Pause By Patty A5 Stencil Ship Wreck
Pause By Patty A6/ATC Ship Wreck
Pause By Patty A5 Ships Wheel
Glossy Accents
Black Pen
White Gel Pen
Katie Skilton's Under the Sea Dies
Distress Ink - Peacock Feathers
Distress Ink - Wild Honey
Distress Ink - Vintage Photo
Distress Oxide - Walnut Stain
Purple Acrylic paint
Bleach
Be Creative Wonder Sheets
Nuvo Crystal Drops - blue Lagoon

 Lets Begin


Begin by liberally wetting sheets of card and sprinkling them with Brusho, you want one with variation or red and oranges, one with greens and yellows and a blue. If u are wondering where the speckled effect on the red came from...I was doing this outside and the red was nearly dry when it started to rain, the speckles are raindrops ...cool effect though.


Attatch wonder sheets to the back of all 3 colours.


Using Katie Skilton's Under the Sea Dies, Die cut, many fish from the red


Many waves from the blue ( I did 8)


Loads of Seaweed from the green.


Add Glossy Accents to the fish and put to one side to dry. That's all the foreground prep completed, now to build the background.


Tear a piece of card in a wavy line and spritz with temporary adhesive.....fix to a second piece of card just over half way up. Liberally spray the top of the card with water and sprinkle with blue and green Brusho's. Allow to dry.


Once dry remove the 'stencil'


Using the A6 Ship Wreck stencil and very small amounts of thin bleach, stencil a ghostly image onto the Brusho'ed area.


Use the other half of the torn card and cover the ghost ship, using the distress inks, add a soft layer of Peacock feathers, a deep layer of wild Honey drawn down the card and edge with the vintage photo.


With the A5 Ship Wreck, create another ghostly image using bleach, dab dry with kitchen paper.


Apply a loose layer of Peacock Feathers over the bleach once the bleach is dried


Add in broken areas of purple acrylic paint to bring the ship into the foreground.


Use the same combination of inks and torn card to start creating sand dunes coming towards you.


In the closest dunes it is no longer necessary to add the blue depth.


Using Distress oxide - Walnut stain and hints of vintage photo, stencil the A5 Ships Wheel into the foreground.


With your black and white pens, apply light and dark shading to the when to make it more prominent.


This is the scarey bit, trim away the edges and base of the card as desired...don't be afraid to chop off bits of ship and wheel. Your Background is now complete and ready to be decorated with the die cuts.


Separate your seaweed die cuts into lights and dark and begin to build the foreground, removing the yellow backing from the wonder sheet and sticking the darker cuts down initially.. don't be afraid to go over the edge, the excess can be trimmed away.


Layer in Fish and waves


start adding the lighter seaweed for an illusion of depth


Once happy, Trim away the excess.


Now add in as many or as few fish as you desire, overlapping for depth.


Use the Nuvo Crystal Drops to create bubbles and let them dry...they will become slightly clear when dry for an amazing water look.


The finished picture...I hope you have enjoyed this blog.


Tuesday, 27 June 2017

'Here be monsters!' A treasure map for pirates


 To make this project you will need:-

1 Sheet Cream Card approx. A4 in size
A teabag...used is best but before milk is added
Pause By Patty A5 Stencil 'Treasure Map'
Scraps of Blue and Grey Card
Gilding Wax - Antique Gold
Katie Skilton's Under the Sea Dies
Distress Oxide - Walnut Stain
Distress Ink - Vintage Photo
A lighter
Collal All Purpose Glue
Spectrum Noir pens IG1 and IG2

 Lets Begin


 Using the soggy teabag, liberally splosh and dab all over the cream card to give it an aged look. Leave to dry.


Using a temporary spray adhesive, position your Treasure Map stencil.


Using the Walnut Stain Distress oxide and a smoothie type sponge applicator, lay in a soft coat of colour over the whole stencil.


Still with the Walnut Stain, darken some areas as desired.


Use the Vintage Photo Distress ink to further darken selected areas.


Remove stencil and clean as per packaging instructions.


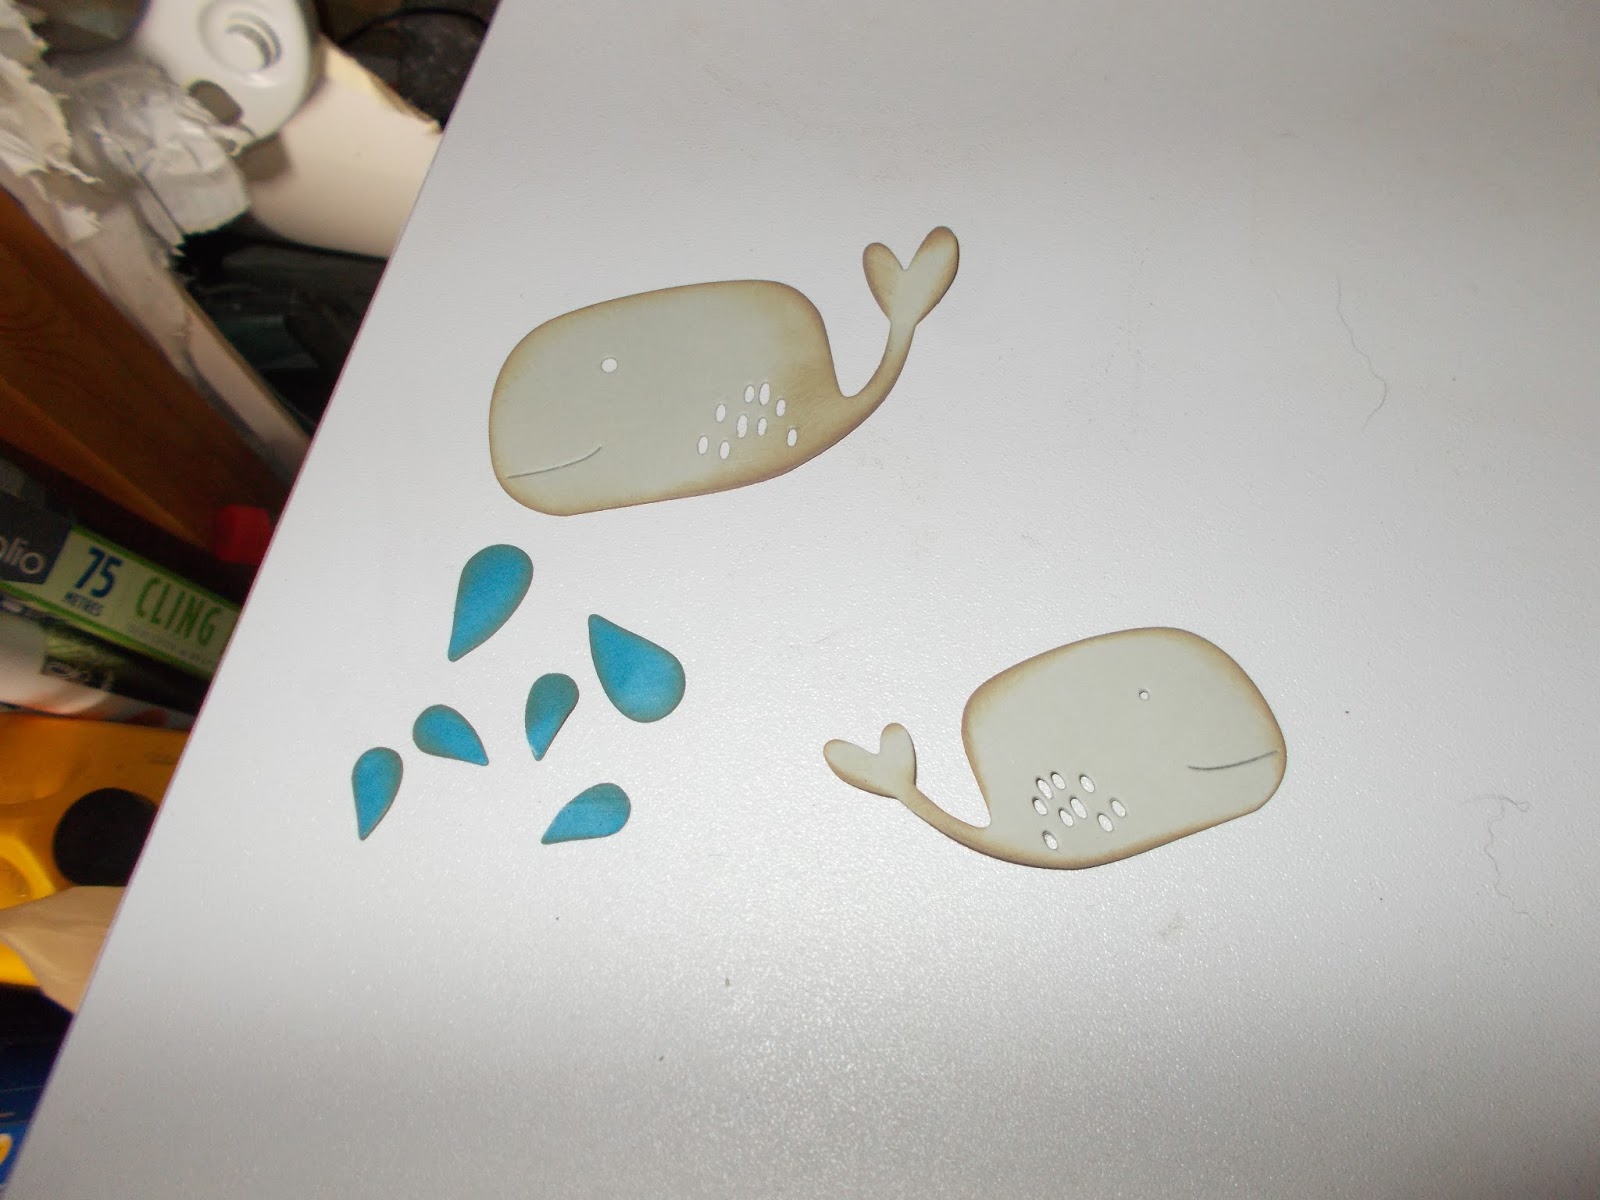
Using Katie Skilton's Under the Sea Whale and Splash dies, cut 1 large and 1 small whale and some water splashes for each.


Gild the edges of the die cuts to give them a blingy aged look.


Glue to the treasure map using Collal all purpose glue. Allow to dry.


Use IG2 spectrum noir to mark in highlights under the whales and around the parchment, blend out using IG1, this will create the illusion that the whales are 3D.


This bit is optional, if you are uncomfortable setting fire to your work, tear around the edges and use distress ink to create a similar effect. Working in small areas and making sure each piece is extinguished before doing another, burn your way round the map for a truly vintage look.

'HERE BE MONSTERS!'

I hope you have enjoyed this small project, keep watching as there are more to come using the Pause by Patty 'Under the Sea' Stencils


Wednesday, 21 December 2016

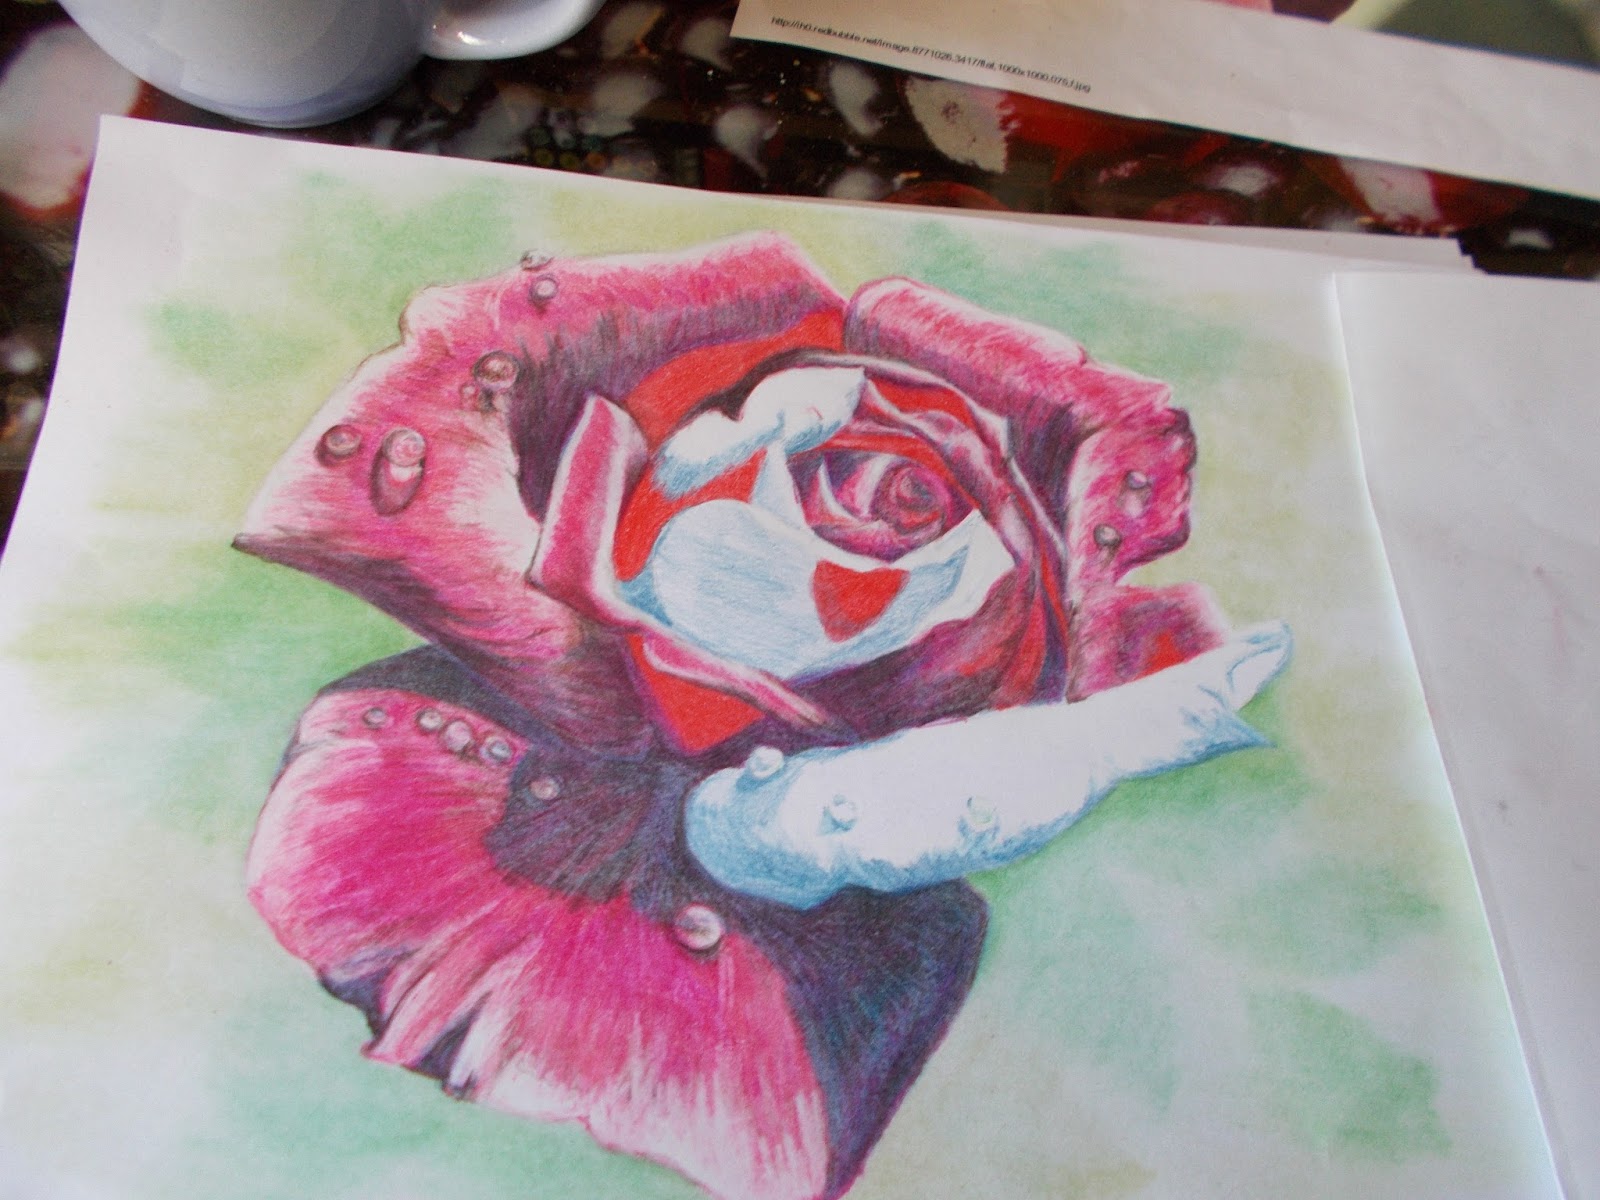
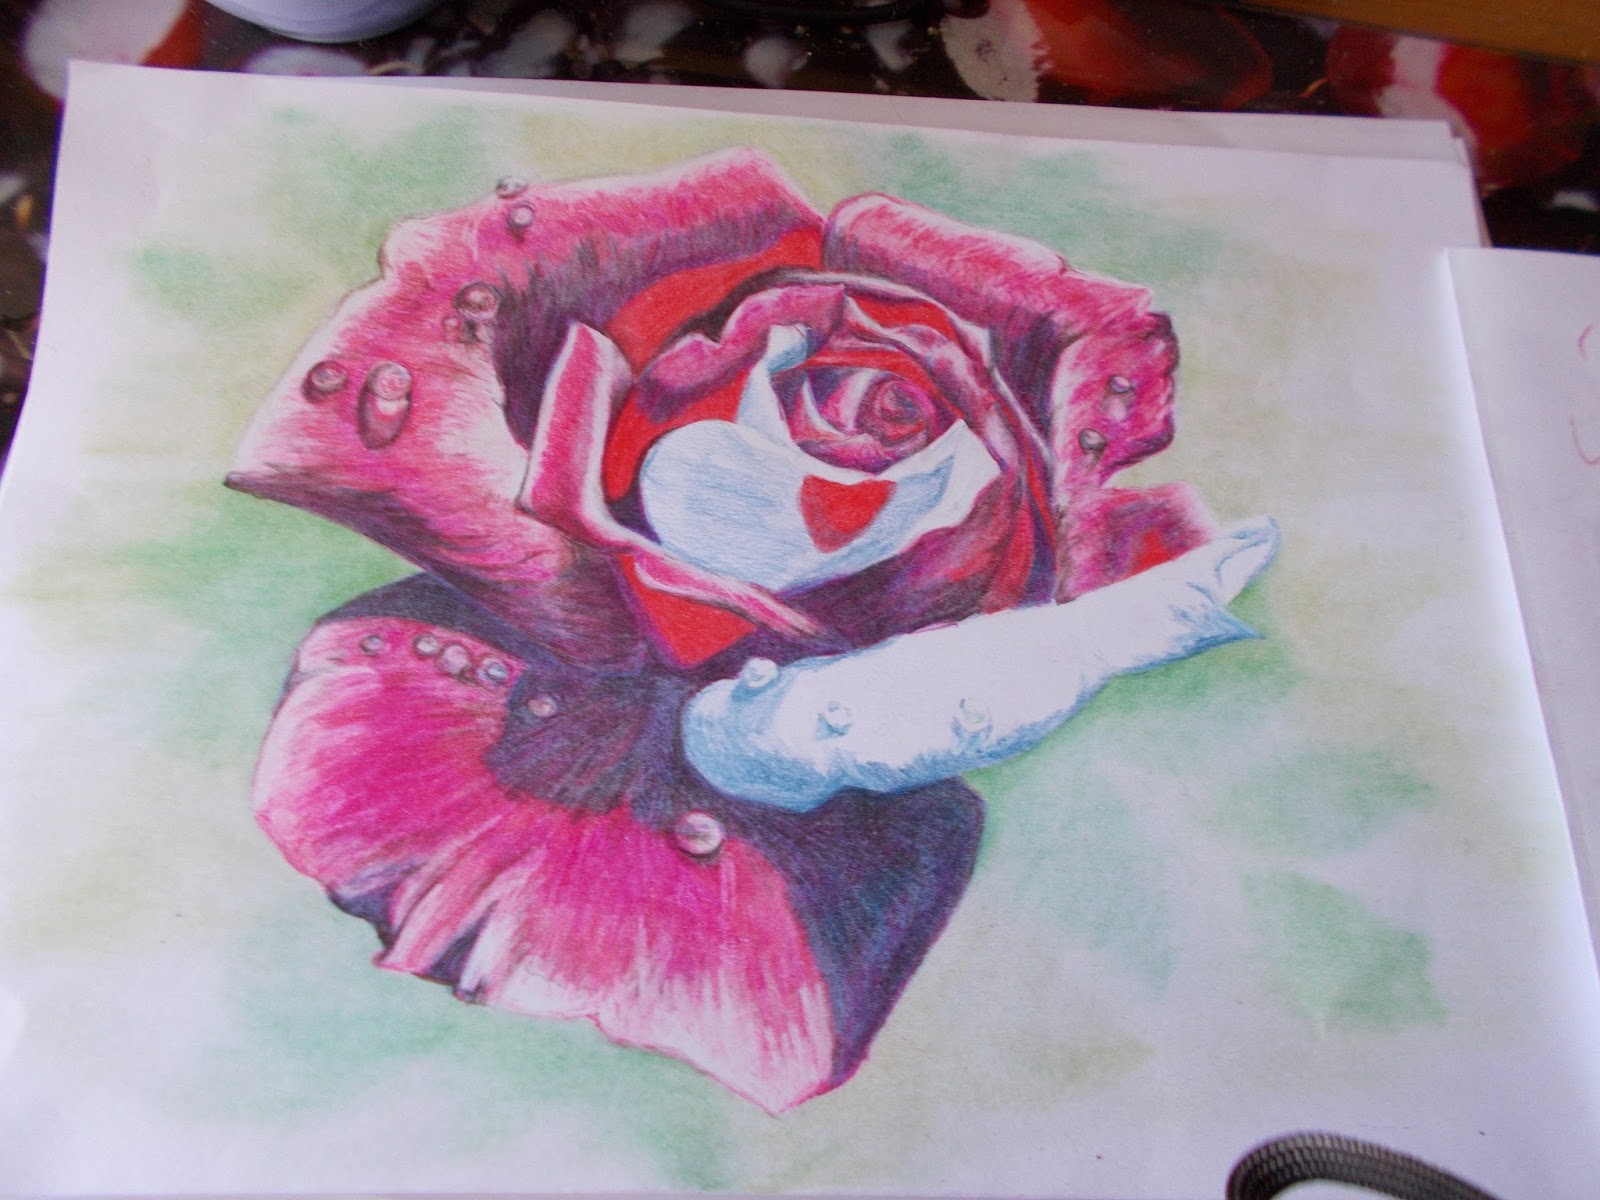
Red Rose Colouring Project

Hiya, i know i havent blogged for a while but ive just finished this rose and thought you might enjoy seeing how i went about it

*Spectrum Noir ColourBlend Pencils 
*Blending Solution
*Blending Stumps
Blending Pencil
White Card..Good Quality
Pencil
White Pen(Sakura Souffle*)
Heat Gun

*Items available from Hochanda

Phase 1

Find a picture of a rose you really like and print 2 copies.....use one to trace the rose onto your card


Phase 2

Use Jade and Pistachio and shade in hints of leaves in the background, a blending stump dipped in blending solution is then used to blend out the pencils and blur them a little...a quick blast with the heat gun...ive found it helps fix in the colour and allows you more blending layers.


Phase 3

Use Twilight Blue to block in the areas of shadow on the rose and white to add the areas of light....ive found this is important as the white almost repels other colours when you begin blending with the solution and remains strong....as always a blast of the heat gun to seal it

Phase 4

Start blending in the base colours....Cranberry, Fushia, Cherry Red, White, Black and Twilight Blue, starting with the petal that lies behind others....once you are happy with the colours use the blending pencil to blend the colours together and then a paint brush dipped in blending solution to clean the white and finish the blend....hit it with the heat gun again after each petal to dry off the solution as you cannot work another petal until the solution is dry (plays havoc with your pencils) Note: always try to move your pencil strokes in the direction of the petal shape, it makes the shading easier and the petals more alive.


Phase 5

With the base..pinker colours laid in, its time to redden and darken the rose using, Black, White,Rose Red and Poppy, again work petal by petal, blend with the blending pencil and finish with a paintbrush dipped in the blending solution....Heat gun action as always.

Phase 6

Using Just the Black go round the shadows and darken where required...dont blend just hit with the heat gun


Phase 7

Back to the background, use the greens again as well as black and grey to build depth and shadows
Blend with the blending stump for the slightly blurred effect. Hit with the heat gun.


Finishing Touches

Use the black to go round and darken the shadows on the raindrops and a white souffle pen to brighten the raindrop highlights and areas of white on the rose....no blending or heat gun...then sign and date your work.

There now, i hope you enjoy and feel inspired to have a go yourself...don't be scared and do play on scrap card before diving in...the Colourblend pencils are amazing to work with and a fantastic range of colours. Look forward to seeing what you do.