Showing posts with label collal all purpose. Show all posts

Tuesday, 27 June 2017

'Here be monsters!' A treasure map for pirates


 To make this project you will need:-

1 Sheet Cream Card approx. A4 in size
A teabag...used is best but before milk is added
Pause By Patty A5 Stencil 'Treasure Map'
Scraps of Blue and Grey Card
Gilding Wax - Antique Gold
Katie Skilton's Under the Sea Dies
Distress Oxide - Walnut Stain
Distress Ink - Vintage Photo
A lighter
Collal All Purpose Glue
Spectrum Noir pens IG1 and IG2

 Lets Begin


 Using the soggy teabag, liberally splosh and dab all over the cream card to give it an aged look. Leave to dry.


Using a temporary spray adhesive, position your Treasure Map stencil.


Using the Walnut Stain Distress oxide and a smoothie type sponge applicator, lay in a soft coat of colour over the whole stencil.


Still with the Walnut Stain, darken some areas as desired.


Use the Vintage Photo Distress ink to further darken selected areas.


Remove stencil and clean as per packaging instructions.


Using Katie Skilton's Under the Sea Whale and Splash dies, cut 1 large and 1 small whale and some water splashes for each.
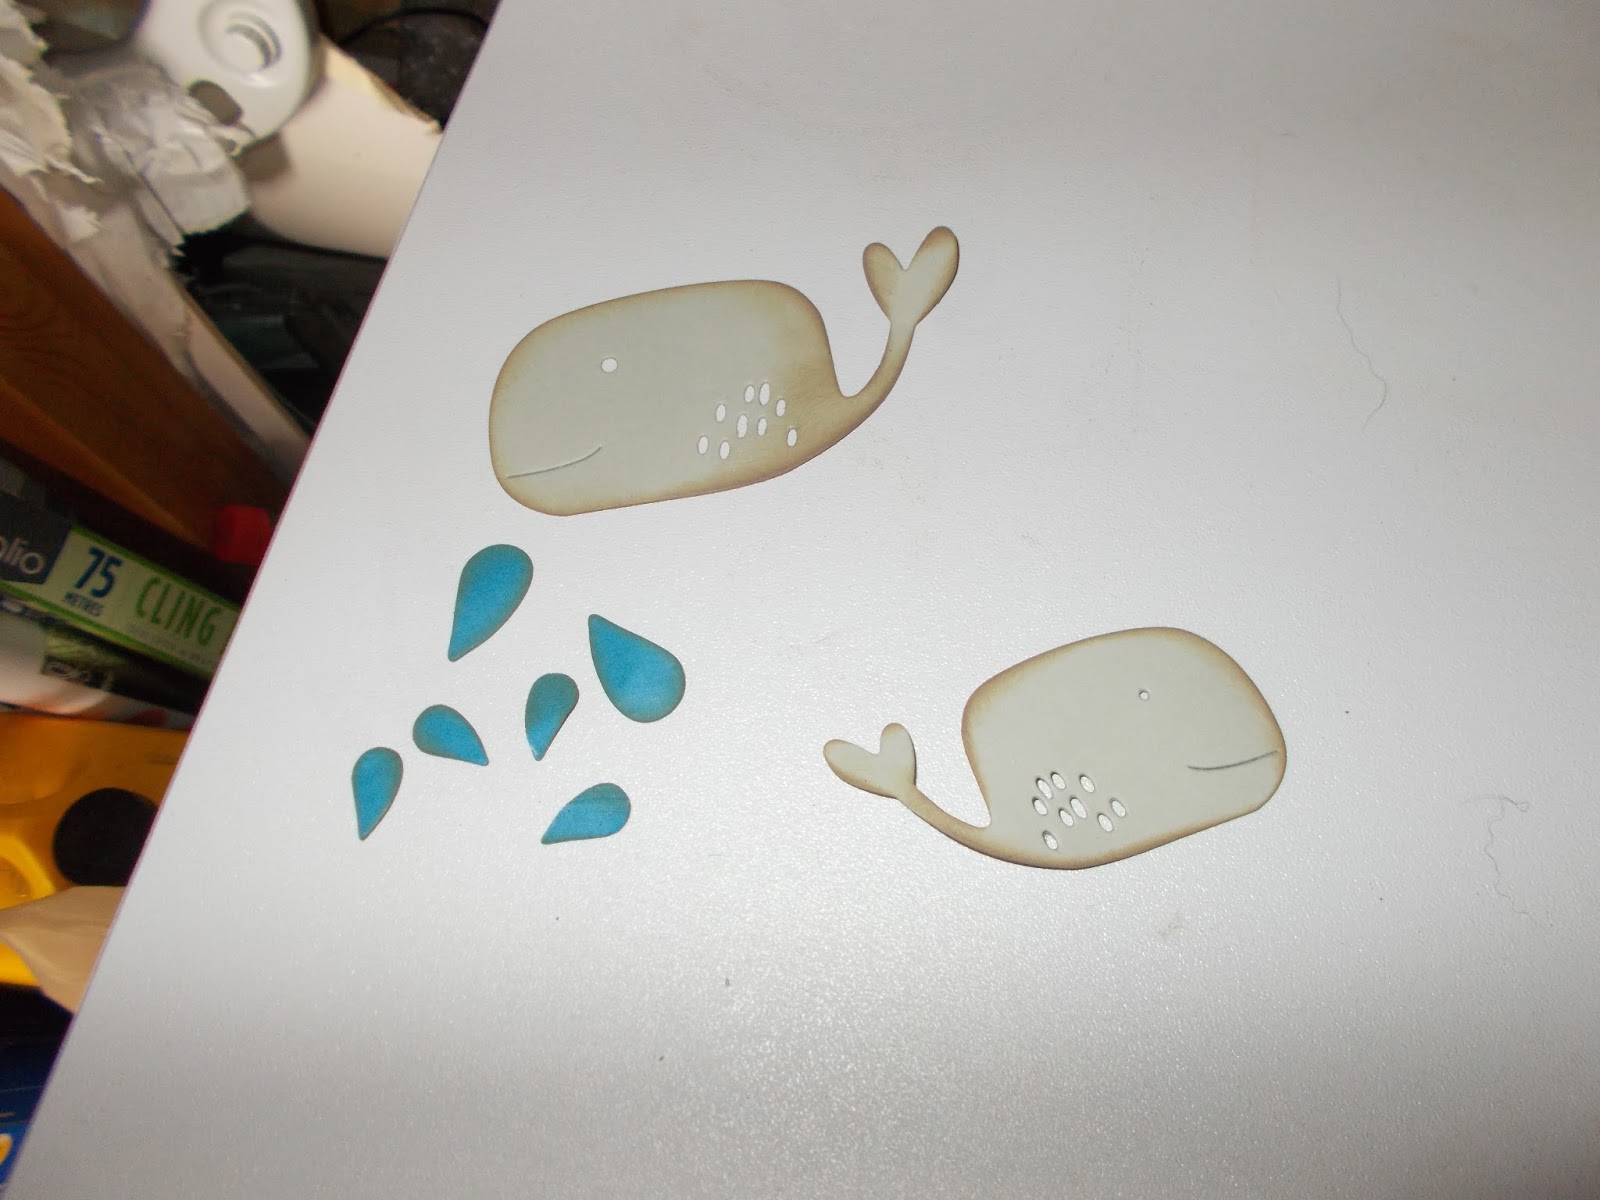

Gild the edges of the die cuts to give them a blingy aged look.


Glue to the treasure map using Collal all purpose glue. Allow to dry.


Use IG2 spectrum noir to mark in highlights under the whales and around the parchment, blend out using IG1, this will create the illusion that the whales are 3D.


This bit is optional, if you are uncomfortable setting fire to your work, tear around the edges and use distress ink to create a similar effect. Working in small areas and making sure each piece is extinguished before doing another, burn your way round the map for a truly vintage look.

'HERE BE MONSTERS!'

I hope you have enjoyed this small project, keep watching as there are more to come using the Pause by Patty 'Under the Sea' Stencils


Thursday, 4 August 2016

Playing With Powertex......Box No 3 'Oak Lane'


Goooood Morning, Finally managed to finish Ice Cube Box No3 lol, This one was fun and i made quite a mess building it. As always i want to say a bit thanks to Hochanda for introducing me to most of the media ive used....the idea came from the madness that is my head lol.


The whole box is built to hold the ice cube trays that can be used for crafty storage or jewellry. Its all made from Mount Board and Fabric, in this case an old duvet set with felt lining the drawers and held together with a little glue and stitching. Big thanks again to Hochanda for the ice cube tray top tip that sparked the idea.

All the exterior stitching is highlighted with a gold metallic powder mixed with the Powertex varnish....the embroidery on the drawer fronts is actually from the duvet i ripped and has been highlighted with Gold metallic powder and a green mica powder. The Drawer Knobs began life as a clear acrylic and were coloured to match with my spectrum noir alcohol pens and then coated with a layer of varnish for protection.


This is the base of the box, i created feet using pistachio nut shells covered in muslin, there is also Cotton Lace running through the base. You will see i have also has a little play with my Imagination Crafts Stencils and Sparkle Medium. The fabrics were precoloured, some with alcohol pens and some dyed...i used the clear powertex and then highlighted with green mica mixed in the Powertex varnish. The little tiles are from an embellishment pack i picked up on sale somewhere. Why did i add them? Dont really know but my gut told me i needed a little something to break up all the green.


As well as the wool etc used to make branches, i have also incorporated Die cut leaves made from prepowertex'd fabric, moulded and fixed with more powertex and some ribbon roses...for texture and my X-cut 'Handmade with love' Button Die


The Focus of the sides are the enamelled plates...I have blogged previously about these tiles...as always i was playing lol.....they are stuck to the box with Collal all purpose and held in place with wool acting as branches...The Oak leaves are all thick paper/card that i die cut and then coated in Powertex. The acorns are beads, split in half with scraps of hessian to create the cups.


Thos is the top of the box, The oak leaves are larger and made from silk clay  and a silicone mould dusted with mica powders, Clear Powertex for these and i think they look yummy, love the way Powertex works with Silk Clay.

So there it is, Box No 3...I hope u have enjoyed the pictures and feel inspired...i have 3 more boxes to make so watch this space....erm blog lol.


Monday, 11 July 2016

Playing With Powertex......Box No 2 'Rose Red'


Good morning gang...finally finished box No2....isnt it pretty? had loads of messy fun with this one and  am really chuffed with the finished peice.
I have used two Colours of Powertex on the box, the clear and the Bronze. Big thanks to Hochanda for introducing this fascinating product into my life.

Below are pictures of the box from all sides and a brief explanation as to what was done...i hope you enjoy.


 The whole box is built to hold the ice cube trays that can be used for crafty storage or jewellry. Its all made from Mount Board and Fabric, in this case an old duvet set with felt lining the drawers and held together with a little glue and stitching. Big thanks again toHochanda for the ice cube tray top tip that sparked the idea.


All the exterior stitching is highlighted with a red metallic powder mixed with the Powertex varnish....the embroidery on the drawer fronts is actually from the duvet i ripped and has been highlighted with Gold metallic powder and a green iridescent mica powder. The Drawer Knobs began life as a clear acrylic and were coloured to match with my spectrum noir alcohol pens and then coated with a layer of varnish for protection.


This is the base of the box, i created feet using pistachio nut shells covered in muslin, there is also string and wool running through the base. You will see i have also has a little play with my Imagination Crafts Stencils and Sparkle Medium.


As well as the wool etc used on the base i have also incorporated twisted scraps of waste duvet...for texture and my X-cut 'Handmade with love' Button Die


The Focus of the sides are the enamelled rose plates...i have done several blogs on my cold enamelled roses, this is why i was playing.....they are stuck to the box with Collal all purpose and held in place with scraps of duvet...My subconcious was driving here and i created a rose within a rose.


The feature of the top of the box is the felt roses....felt is very thirsty and soaks up the powertex like there's no tomorrow, however i have found that if you soak the flowers in warm water and then squeeze them to get as much water out as possible, the felt is then less thirsty when you dunk them in the powertex...it does increase the drying time and i had to 'touch up' a few areas, but all in all a job well done.....however, with the frosting on the petals provided by cold enamelling, i think they work quite nicely.....i have also added some of the ribbon roses that Nick Roberts taught me how to make.....he has his own blog and if you click on his name here you will be taken to his video on how to make the ribbon roses.

I do hope you enjoy these pictures and look forward to any questions/ comments. 

Thursday, 30 June 2016

Playing With Powertex......Box No 1 'Pretty in Pink'


Hiya Gang.....Finally finished my first Ice Cube Box Storage.....i will blog the how to make for the actual box itself at some point but you know me....easily distracted lol...I have used two Colours of Powertex on the box, the clear and the Bronze. Big thanks to Hochanda for introducing this fascinating product into my life.

Below are pictures of the box from all sides and a brief explanation as to what was done...i hope you enjoy.


 The whole box is built to hold the ice cube trays that can be used for crafty storage or jewellry. Its all made from Mount Board and Fabric, in this case an old duvet set with felt lining the drawers and held together with a little glue and stitching. Big thanks again to Hochanda for the ice cube tray top tip that sparked the idea.


All the exterior stitching is highlighted with a pink Mica powder mixed with the Powertex varnish....the embroidery on the drawer fronts is actually from the duvet i ripped and has been highlighted with a lighter pink and Cosmic Shimmer Gilding Wax, Spring Green. The Drawer Knobs began life as a clear acrylic and were coloured to match with my spectrum noir alcohol pens and then coated with a layer of varnish for protection.


 This is the base of the box, i created feet using pistachio nut shells covered in muslin, there is also string and wool running through the base. If you peer you will see i have also has a little play with my Imagination Crafts Stencils and Sparkle Medium.


As well as the wool etc used on the base i have also incorporated twisted scraps of waste duvet...for texture and my X-cut 'Handmade with love' Button Die


The Focus of the sides are the enamelled rose plates...i have done several blogs on my cold enamelled roses, this is why i was playing.....they are stuck to the box with Collal all purpose and held in place with scraps of duvet...My subconcious was driving here and i created a rose within a rose....i have also added some of the ribbon roses that Nick Roberts taught me how to make.....he has his own blog and if you click on his name here you will be taken to his video on how to make the ribbon roses.


The feature of the top of the box is the felt roses....felt is very thirsty and soaks up the powertex like there's no tomorrow.....however, with the frosting on the petals provided by cold enamelling, i think they work quite nicely.

I do hope you enjoy these pictures and look forward to any questions/ comments.