Showing posts with label Xcut. Show all posts

Monday, 11 July 2016

Playing With Powertex......Box No 2 'Rose Red'


Good morning gang...finally finished box No2....isnt it pretty? had loads of messy fun with this one and  am really chuffed with the finished peice.
I have used two Colours of Powertex on the box, the clear and the Bronze. Big thanks to Hochanda for introducing this fascinating product into my life.

Below are pictures of the box from all sides and a brief explanation as to what was done...i hope you enjoy.


 The whole box is built to hold the ice cube trays that can be used for crafty storage or jewellry. Its all made from Mount Board and Fabric, in this case an old duvet set with felt lining the drawers and held together with a little glue and stitching. Big thanks again toHochanda for the ice cube tray top tip that sparked the idea.


All the exterior stitching is highlighted with a red metallic powder mixed with the Powertex varnish....the embroidery on the drawer fronts is actually from the duvet i ripped and has been highlighted with Gold metallic powder and a green iridescent mica powder. The Drawer Knobs began life as a clear acrylic and were coloured to match with my spectrum noir alcohol pens and then coated with a layer of varnish for protection.


This is the base of the box, i created feet using pistachio nut shells covered in muslin, there is also string and wool running through the base. You will see i have also has a little play with my Imagination Crafts Stencils and Sparkle Medium.


As well as the wool etc used on the base i have also incorporated twisted scraps of waste duvet...for texture and my X-cut 'Handmade with love' Button Die


The Focus of the sides are the enamelled rose plates...i have done several blogs on my cold enamelled roses, this is why i was playing.....they are stuck to the box with Collal all purpose and held in place with scraps of duvet...My subconcious was driving here and i created a rose within a rose.


The feature of the top of the box is the felt roses....felt is very thirsty and soaks up the powertex like there's no tomorrow, however i have found that if you soak the flowers in warm water and then squeeze them to get as much water out as possible, the felt is then less thirsty when you dunk them in the powertex...it does increase the drying time and i had to 'touch up' a few areas, but all in all a job well done.....however, with the frosting on the petals provided by cold enamelling, i think they work quite nicely.....i have also added some of the ribbon roses that Nick Roberts taught me how to make.....he has his own blog and if you click on his name here you will be taken to his video on how to make the ribbon roses.

I do hope you enjoy these pictures and look forward to any questions/ comments. 

Thursday, 30 June 2016

Playing With Powertex......Box No 1 'Pretty in Pink'


Hiya Gang.....Finally finished my first Ice Cube Box Storage.....i will blog the how to make for the actual box itself at some point but you know me....easily distracted lol...I have used two Colours of Powertex on the box, the clear and the Bronze. Big thanks to Hochanda for introducing this fascinating product into my life.

Below are pictures of the box from all sides and a brief explanation as to what was done...i hope you enjoy.


 The whole box is built to hold the ice cube trays that can be used for crafty storage or jewellry. Its all made from Mount Board and Fabric, in this case an old duvet set with felt lining the drawers and held together with a little glue and stitching. Big thanks again to Hochanda for the ice cube tray top tip that sparked the idea.


All the exterior stitching is highlighted with a pink Mica powder mixed with the Powertex varnish....the embroidery on the drawer fronts is actually from the duvet i ripped and has been highlighted with a lighter pink and Cosmic Shimmer Gilding Wax, Spring Green. The Drawer Knobs began life as a clear acrylic and were coloured to match with my spectrum noir alcohol pens and then coated with a layer of varnish for protection.


 This is the base of the box, i created feet using pistachio nut shells covered in muslin, there is also string and wool running through the base. If you peer you will see i have also has a little play with my Imagination Crafts Stencils and Sparkle Medium.


As well as the wool etc used on the base i have also incorporated twisted scraps of waste duvet...for texture and my X-cut 'Handmade with love' Button Die


The Focus of the sides are the enamelled rose plates...i have done several blogs on my cold enamelled roses, this is why i was playing.....they are stuck to the box with Collal all purpose and held in place with scraps of duvet...My subconcious was driving here and i created a rose within a rose....i have also added some of the ribbon roses that Nick Roberts taught me how to make.....he has his own blog and if you click on his name here you will be taken to his video on how to make the ribbon roses.


The feature of the top of the box is the felt roses....felt is very thirsty and soaks up the powertex like there's no tomorrow.....however, with the frosting on the petals provided by cold enamelling, i think they work quite nicely.

I do hope you enjoy these pictures and look forward to any questions/ comments. 

Tuesday, 31 May 2016

Cold Enamelled Tiles, Oak Tree....2 versions


I created 2 versions of my twin tiles as the first attempt didnt produce the results i was after....although they are cool in themselves....Here i will show you how i created both sets of tiles. Starting with the second version...

Ingredients

* Efco Cold Enamelling Starter Kit
* Aluminium Tiles
* Spectrim Noir Pens
Stencils created on coke cans using * Crafters Companion Mixed media dies and X-Cut dies

*Products purchased from Hochanda

How To Version 2

1. Both of the tiles i used here  had used previously to play on....i coated them both with white Cold Enamel powder and 'fired' them in my little stove to create a white base to work on

2. Using Spectrum Noir pens and starting with the furthest point and work forwards...colour in the sky and distant hills


 3. I am using the chisel end for a solid application and if ink from previous colour colours a pen i scribble it out onto paper......Keep working forward building in the nearer hills, the Hedgerows are added with the bullet tip and 'scribbled' for a little texture


4. Keep moving forward until u have a landscape of sorts...i love the effects of the alcohol pens on the cold enamelling....almost watercolour...gawgeous


5.Using the coke can branch stencils add a branch to each tile and fire it....this will also fix the background into the cold enamel.....Once cool i added shading with the bullet tip end of a dark brown.

6.In several firings add acorns, shade with pens....then begin to add leaves


7. You will note that i have used 3 shades of green to create the leaves, while the starter kit only has one, to create the dark green i premixed some of the green with ultramarine blu and a dash of black and the light green is green premixed with yellow.


VERSION 1


Ingredients

* Efco Cold Enamelling Starter Kit
* Aluminium Tiles
* Crafters Companion Mixed media dies 
  X-Cut dies
  Coke Cans 

*Products purchased from Hochanda

How To Version 1

1. Use 2 new aluminium tiles and key them with sandpaper...this seems to help the enamel stick to the tile but if you forget dont panic.

2. Create the sky with white and turquiuse...swirl with a cocktail stick and then fire, add some clouds by gently waving pot from left to right (white with a touch of black added) and refire


3.Tear a peice of paper to make a slightly wavy line and start building in the background firing between each application of powder...as the hills come forward feel free to add extra 'wonk' to the paper...for hilly effect.


4. To create the hedgerows i tore a wonky line out ofpaper and then went along and nibbled bits out of the tear to create trees


5. Now you have your background its time to die cut some bits from your coke cans....2 branches, 12 acorns, 28 oak leaves and the toadstool foreground...give them a gentle key remember to be careful, those edges are sharp.


6. Enamel all the die cuts in required colours...use a scrap of paper to separate colours...

7. Layer a fine coat of clear enamel powder and then add the enamelled die cuts and fire.....you will notice that the cuts wont lay flat...dont panic just make sure all your required peices are added and the fire one final time


8. When the final firing has softened all the enamel, remove and press a cold tile on top of the hot tile as hard as possible to push the metal cuts into the softened enamel.


I hope you have enjoyed these two versions of the same idea....Im off to play now lol


Thursday, 19 May 2016

Autumn Trees, Pop Can Cold Enamelling


This picture evolved from my desire to test out the Crafters Companion mixed media dies.....more on that later...i am very very pleased with the results and have ideas flooding the grey matter like there's no tomorrow......which is weird cause my current reading matter of choice is Zombie apocalypse stuff.....

Ingredients

  MountBoard
  Acrylic Paints...i Favour System 3...Colours used = Cobalt Blue, White, Mars Black, Paynes Grey, Raw Umber, Pale Yellow, Yellow Ochre, Light Green, Deep Green and Pthalo Green.
* Cold Enamelling Starter Kit
* Crafters Companion Die'Sire Mixed Media Die Branch and leaves
  Pop Cans
* Spectrum Noir Alcohol Pens
* Imaginations Crafts Sparkle Medium = Peppermint, Hunters Green and Lapis Blue
* Imaginations Crafts Stencil = Dragonflies
* Collal 3D Glue
* Collal All Purpose Glue
* Double sided tape
  XCut Dies from a set that included an build a fox, leaves and an acorn....fab and im sure Hochanda will be bringing such to us in the future

* = Items purchased from Hochanda

How To

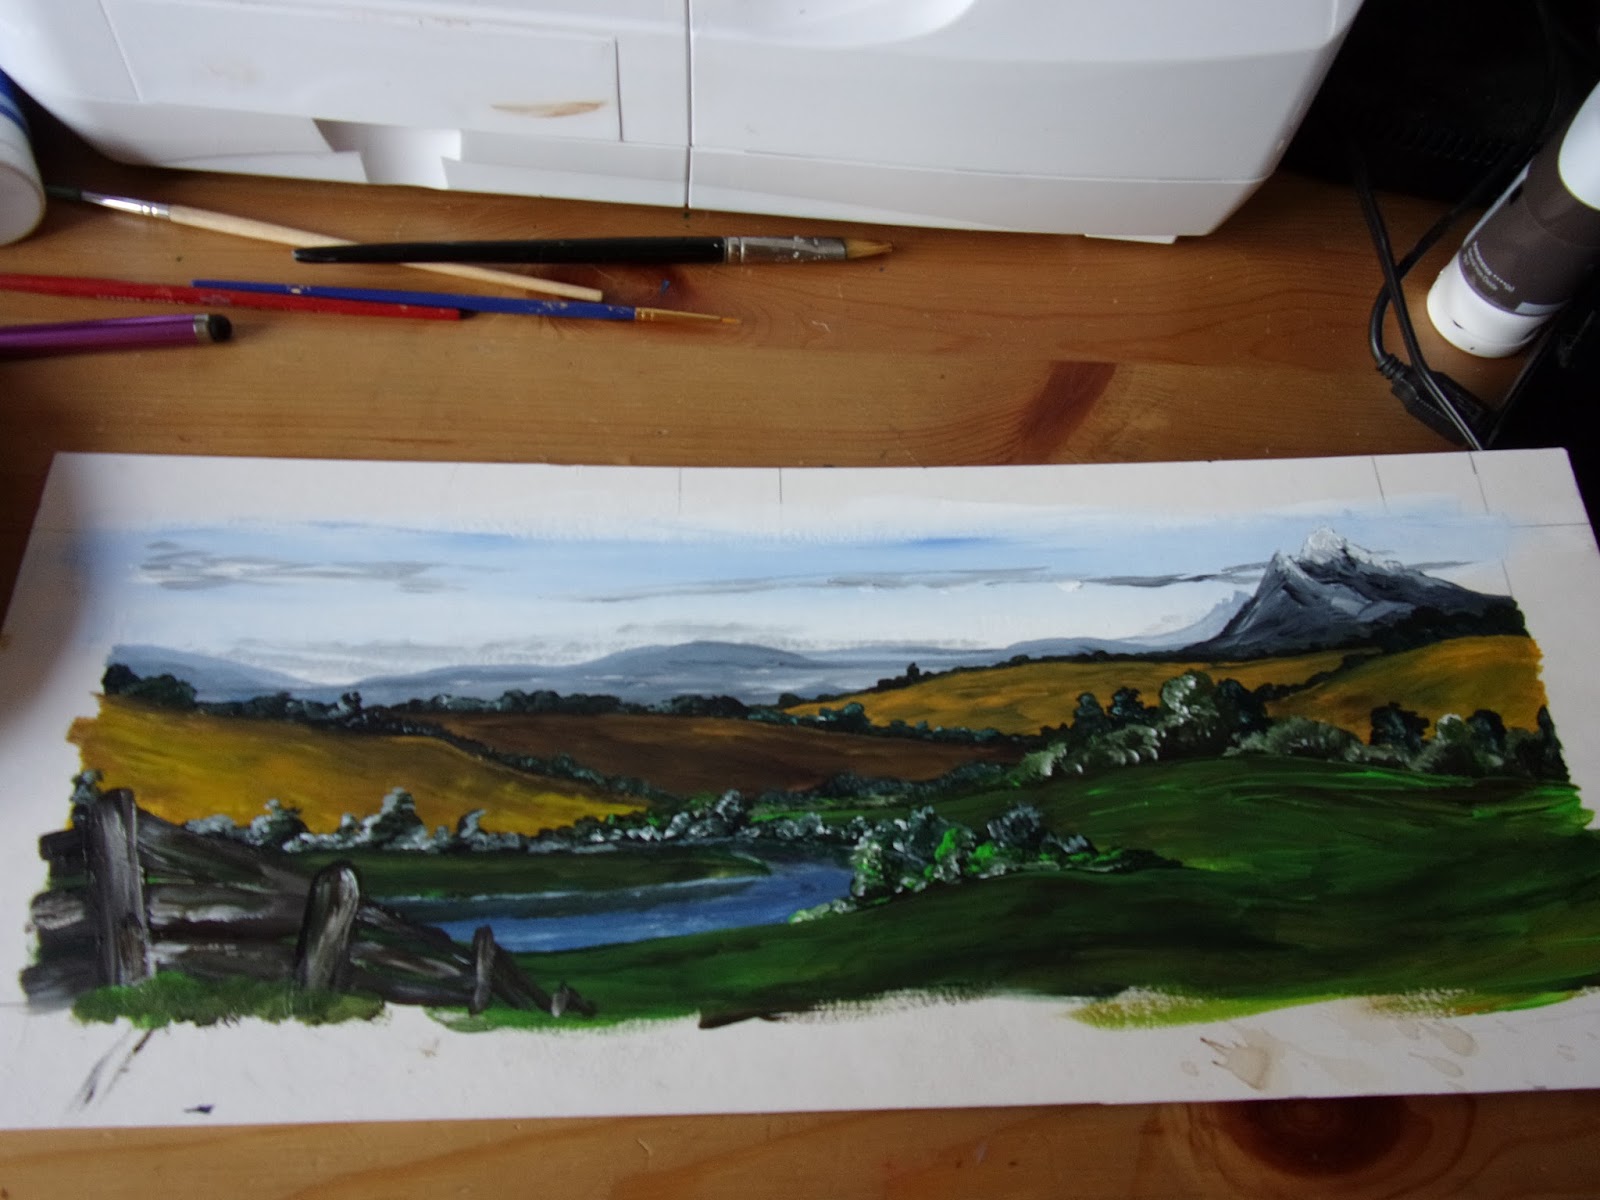
Background First....i sketched from the madness that is my head but you could use a picture just as easily and trace it onto your chosen peice of mountboard....The mountboard i used was a peice of scrap and i set the picture margins using the width of a ruler.  Once the sketch was laid in i painted the background with acrylic paints.....steps below


With the Back Ground Finished i Used my Mixed media dies from Crafters Companion to cut branches and leaves from pop cans....the branches will become trees. Some thoughts on the Crafters Companion Mixed Media Dies....well they cut alot of materials, they also chewed up my clear plates and the branch is now bent.....but they do cut probably a bit to well as when i tried mountboard i ended up with the pokey holes embossed as well.....but i cant dismiss them completely as they did cut..i think they need work....anyway...onwards

Once cut i coloured with spectrum Noir Alcohol pens


Then each leaf and Branch was cold enamelled with clear enamel....i wasnt happy with the leaves so each set was dusted with the relevant enamel colour to boost them a little... A Note here... the branches are flimsy and the enamel cracks and falls off because of this....be gentle

This is the fun bit, Starting left with the brown leaf trees and working as per pics i fixed each tree to the painting.


Closeup
 Wasnt satisfied and wanted to add more so i found my imagination Crafts Dragonfly Stencil and my sparkle Mediums and had a little play


Because i had smudges some of my stencil work i needed a few 'Butterflies' to cover the mistake....in this instance i used my Xcut Toadstool Dies to cut out a pop can and cold enamelled the cuts to make Fly Agaric Toadstools (My Fave) 

Before adding my little 'shrooms i mounted the picture...i chose a grey mount to push all the colours in the picture forwards...i toyed with blue which would have emphasised the sky and river in the background but decided against it as i wanted the foreground to be the focus....Grey it was

The Finishing touch is the little 'shrooms......and i am dead chuffed with the results...i hope you enjoy this 'How to' and look forward to seeing your ideas