Showing posts with label Printed Panels. Show all posts

Thursday, 7 March 2019

Stitchonaries No 3 Blanket Stitch

Craft YourSelf Silly Stitchonaries

No 3. Blanket Stitch


Stitchonaries are the modern day sampler, they're great for both beginners to learn with and for experienced embroiderers to practice on...and if i'm honest i've been embroidering for nearly 40 years now and they've featured stitches i didn't know and have enjoyed learning. there are 6 project pages as well as the front cover and a patterned back that you can embellish as you choose. They come as a complete panel and instructions on how to fold it into a floppy book, i've then taken that a step further and inserted card to stiffen the pages.
I would also recommend you invest in a heat erasable pen so you can draw any changes onto the page, stitch them and then iron away your lines.

In these Blogs i will take you through the stitchonaries one at a time and page by page to tell you what i have done and why. But i cant recommend them highly enough and they look awesome when finished too.

interested? check out the Craft yourself Silly Site or Hochanda.

No 3. Blanket Stitch


I always take the time to neatly stitch in the text as it looks very effective, this can be done at any stage of the project and like any page you don't have to complete it in one go...although each page/project is small enough that there isn't really time to get bored or stressed and they look awesome when done.
The leaf i cut from felt and blanket stitched , with wrapped running stitch for the veins.


On this page we learn the basics of blanket stitch, turning circles and angles and for fun I coloured the images with Cosmic Shimmer Fabric Paint


The letters were cut from felt and appliqued with blanket stitch.


Crown of thorns - On Competing the first swirl I added another to try out the two variations od stitches.....Background colour is a wash of Inktense pencils.


Two hearts were printed on this page...to me they seemed lonely so I added more, you don't have to do this, I enjoyed the stitching so much i couldn't resist adding more.


To Create the background on this page I used a variety of coloured organza, because I used a heat erasable pen to make additions to the page, when I heated it to remove it, some of the organza melted....an interested effect, even if unintentional...I have since used the same technique deliberately with great effect on another stitch project.


Shisha Mirrors, Blanket stitch is one of the ways of fixing shapes and cut-outs to a page, as you can see, some of the circles are reflective and some are hand marbled pieces.


The back page is a great opportunity to play with the stitches learnt throughout the stitchonary. I have added extra colour with Cosmic Shimmer fabric paints.

Next up is No 4. Knots Stitch

Monday, 4 March 2019

Stitchonaries No 2. Chain Stitch

Craft YourSelf Silly Stitchonaries

No 2. Chain Stitch


Stitchonaries are the modern day sampler, they're great for both beginners to learn with and for experienced embroiderers to practice on...and if i'm honest i've been embroidering for nearly 40 years now and they've featured stitches i didn't know and have enjoyed learning. there are 6 project pages as well as the front cover and a patterned back that you can embellish as you choose. They come as a complete panel and instructions on how to fold it into a floppy book, i've then taken that a step further and inserted card to stiffen the pages.
I would also recommend you invest in a heat erasable pen so you can draw any changes onto the page, stitch them and then iron away your lines.

In these Blogs i will take you through the stitchonaries one at a time and page by page to tell you what i have done and why. But i cant recommend them highly enough and they look awesome when finished too.

interested? check out the Craft yourself Silly Site or Hochanda.

And onwards with No 2. Chain Stitch


I always take the time to neatly stitch in the text as it looks very effective, this can be done at any stage of the project and like any page you don't have to complete it in one go...although each page/project is small enough that there isn't really time to get bored or stressed and they look awesome when done.
The Star is painted with Cosmic Shimmer fabric Paints and then i have embroidered around the edge using one of the stitches learnt in the panel.


On this page we learn the basics of chain stitch...I have added notes to show which stitches are which so that when i refer back i can see the differences


Practicing Chainstitch and writing, i have added the numerics myself in the blank space provided to show how chain stitch works with different thread thicknesses.


Background is coloured with watered down cosmic shimmer paints, text added to identify the stitch. This piece could also be worked as lavender simply by changing the colours.


This page i followed directly from the instructions provided.


Ok so i  went a little mad with this one, the vase is coloured with cosmic shimmer fabric paints and some watered down cosmic shimmer provides a background...all the foliage and buds i added myself and i think that you can go as mad as you like to create your own individual vase as these mini projects are very freeing and open to personal interpretation.


background is provided by a scrap of organza and the clock is done very delicately with two strands of white thread


The back page is a great opportunity to play with the stitches learnt throughout the stitchonary. for this one i have used thread thickness to create distance...the green leaves are 3 strands, the tree four strands and the fallen leaves are six strands, the tree trunks are created with wrapped running stitch from the 1st stitchonary (Running Stitch).

Next up is No 3. Blanket Stitch

Stitchonary No1 Running Stitch

Craft YourSelf Silly Stitchonaries

No 1. Running Stitch


Stitchonaries are the modern day sampler, they're great for both beginners to learn with and for experienced embroiderers to practice on...and if i'm honest i've been embroidering for nearly 40 years now and they've featured stitches i didn't know and have enjoyed learning. there are 6 project pages as well as the front cover and a patterned back that you can embellish as you choose. They come as a complete panel and instructions on how to fold it into a floppy book, i've then taken that a step further and inserted card to stiffen the pages.
I would also recommend you invest in a heat erasable pen so you can draw any changes onto the page, stitch them and then iron away your lines.

In these Blogs i will take you through the stitchonaries one at a time and page by page to tell you what i have done and why. But i cant recommend them highly enough and they look awesome when finished too.

interested? check out the Craft yourself Silly Site or Hochanda.

Let Us Begin at the beginning with No 1. Running Stitch


I always take the time to neatly stitch in the text as it looks very effective, this can be done at any stage of the project and like any page you don't have to complete it in one go...although each page/project is small enough that there isn't really time to get bored or stressed and they look awesome when done.
The heart is painted with Cosmic Shimmer fabric Paints and then i have embroidered around the edge using one of the stitches learnt in the panel.


On this page we learn the basics of running stitch...because i am an experienced embroiderer i chose to add my own second circle but you can stick to the printed project or do your own thing, there really aren't any rules they're yours to learn, practice and enjoy...i also went rainbow with my threads..if you are starting out and just using the threads provided (there are 6 random colours provided in the kit) then you simply pick a colour and play.


All the background colour on this page is provided by Inktense Pencils, simply colour the areas as desired and activate with a paint brush and water....don't forget to ground your flower.


Starting at the left of the alphabet, i have stitched the first letter with a full 6 strands, moved to 5 strands on the next letter and so on until I am down to one strand...This is a good way of seeing the effect of the different thread thicknesses and keeping a record for future reference.


Notice the roman numeral IV, this is a note to tell me that i have used 5 strands of each colour to create this page.


I followed the instructions directly for this page.


The Umbrella is coloured with cosmic shimmer fabric paints and the background has an inktense wash.


The back page is a great opportunity to play with the stitches learnt throughout the stitchonary. I have added extra colour with Inktense pencils and Cosmic Shimmer fabric paints.

Next up is No 2. Chain Stitch

Wednesday, 15 February 2017

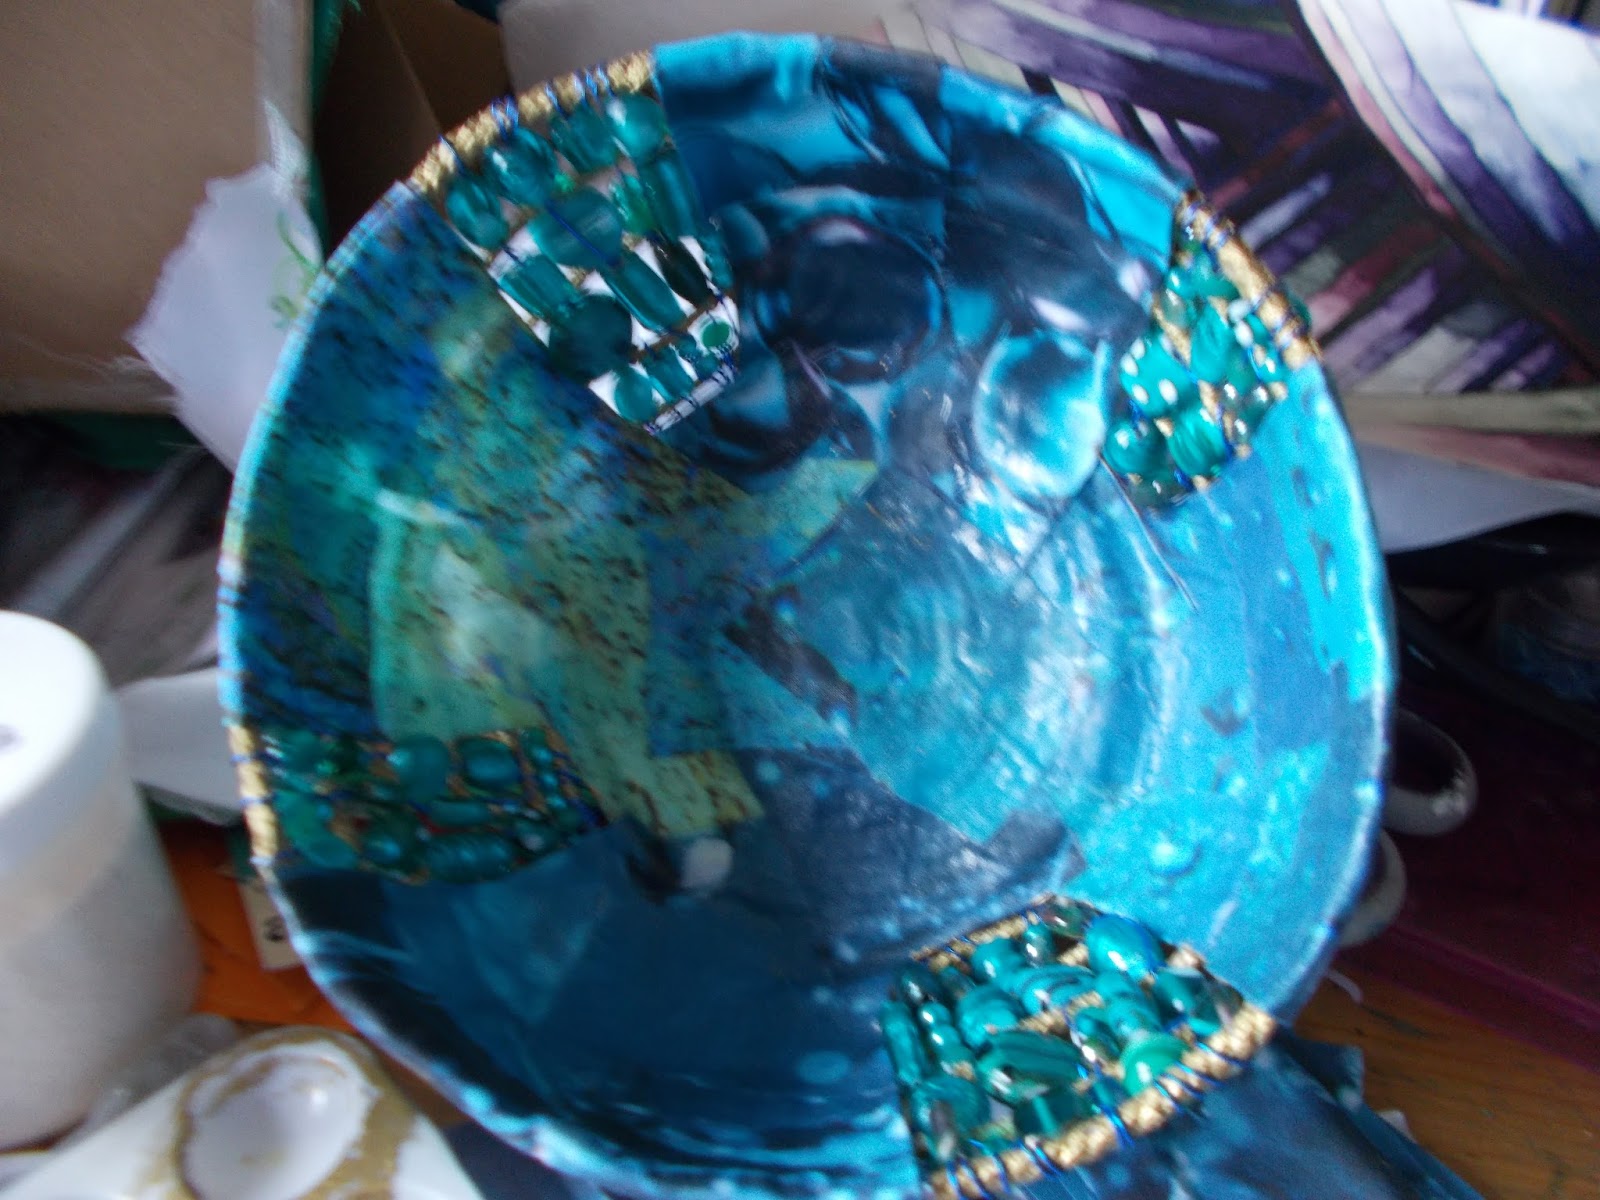
Powertex Printed Panel Beaded Bowl


Hiya gang, long time no speak, hope everyone has been crafting happy. I thought i would share this idea i had for using the amazing printed panels from Craft Yourself Silly.

Ingredients

* Transparent powertex
*Powertex varnish
* Gold metallic powder
* Craft Yourself Silly printed panels, choose your colour and chop half of the fabric into cubes
1cm thick cotton Braid
5mm thick cotton chopped into lengths
Lampwork beads in a colour to match the panels
Coloured wire

you will also need:
a bowl
clingfilm

* Available on Hochanda

And so it begins.........


Using a bowl designated for crafting and a permanant marker, divide your bowl and mark areas for beading, also mark in the top of the bowl...i have chosen to divide the bowl into four, one area to showcase each printed panel.


Line the bowl with cling film, if you are having trouble persuading the cling film to behave, rub a tiny amount of oil (any oil) over the bowl and the cling film will be held in place.


I'm short a pic here, but had gloves coated in powertex on and forgot to stop. Before you glove up, cut enough of the 1cm braid to ring the top of the bowl and to create a solid base. Coat in powertex and apply,  I found the braid at the top of the bowl a little pesky as it kept slipping so i fixed it in place as i applied the fabric peices.
Add rows of 5mm braid in the areas that will be beaded, then apply your powertex'd fabric. All the areas that are exposed i 'hemmed' by folding the edge of the fabric over for a nice clean edge.  I didnt worry about the top of the bowl as when the powertex is dry, i will pop it out of the clingfilm and trim the top neatly.


The inside of the bowl dried and the top trimmed.


Make a paint using a small amount of Varnish and the Gold powder (gold was my choice, bronze or silver would be equally effective) and paint all the exposed braid...this is optional if you like the original braid, leave it as is.


Now for a bit of beading, cut lengths of wire that are the length of the side of the bowl x 2 (i.e up and down) leaving a tail to be hidden at the bottom. Weave in the lampwork beads so that they fit into the gaps between the pieces of braid.


Powertex the remaining fabric to the outside of the bowl, remembering to fold in exposed edges and to ensure that the wire tails are thoroughly hidden between the two layers of fabric. At the top off  the bowl, fold over the fabric to the inside to neaten the rough top edge. Leave to dry.


Enjoy your finished bowl and remember that 3 week later it will be weather safe...the lampwork beads are glass so they should be fine outdoors.


With a little prep (15 mins max), the actual work on the bowl takes very little time, half an hour for the inside and half an hour for the outside at the most. The bead weaving takes some time and is a little fiddly but again it is optional and could be left out. I personally enjoyed the effect as the beads enhanced the colour of the panels. The Craft Yourself Silly team have an amazing range of fabrics on Hochanda and there are Powertex shows to inspire as well.. Have fun, make a mess....and dont forget to share your makes.😉