Tuesday, 27 June 2017

'Here be monsters!' A treasure map for pirates


 To make this project you will need:-

1 Sheet Cream Card approx. A4 in size
A teabag...used is best but before milk is added
Pause By Patty A5 Stencil 'Treasure Map'
Scraps of Blue and Grey Card
Gilding Wax - Antique Gold
Katie Skilton's Under the Sea Dies
Distress Oxide - Walnut Stain
Distress Ink - Vintage Photo
A lighter
Collal All Purpose Glue
Spectrum Noir pens IG1 and IG2

 Lets Begin


 Using the soggy teabag, liberally splosh and dab all over the cream card to give it an aged look. Leave to dry.


Using a temporary spray adhesive, position your Treasure Map stencil.


Using the Walnut Stain Distress oxide and a smoothie type sponge applicator, lay in a soft coat of colour over the whole stencil.


Still with the Walnut Stain, darken some areas as desired.


Use the Vintage Photo Distress ink to further darken selected areas.


Remove stencil and clean as per packaging instructions.


Using Katie Skilton's Under the Sea Whale and Splash dies, cut 1 large and 1 small whale and some water splashes for each.
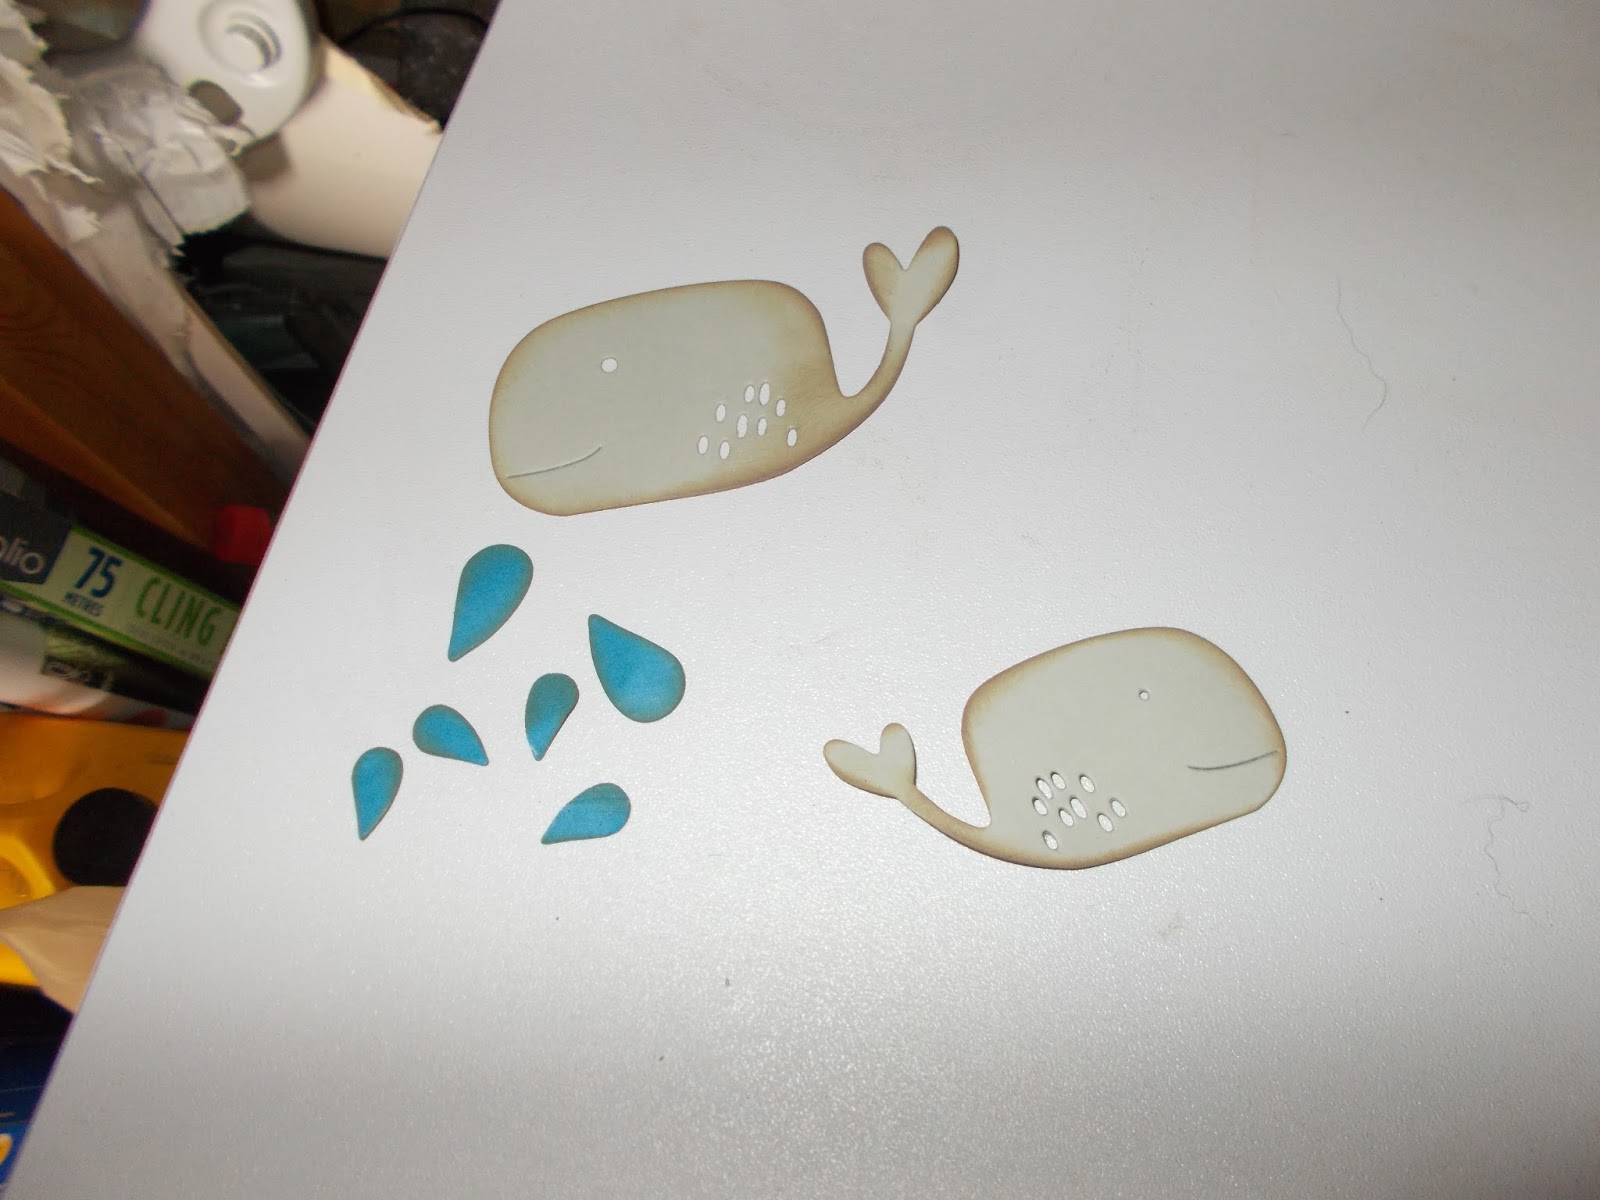

Gild the edges of the die cuts to give them a blingy aged look.


Glue to the treasure map using Collal all purpose glue. Allow to dry.


Use IG2 spectrum noir to mark in highlights under the whales and around the parchment, blend out using IG1, this will create the illusion that the whales are 3D.


This bit is optional, if you are uncomfortable setting fire to your work, tear around the edges and use distress ink to create a similar effect. Working in small areas and making sure each piece is extinguished before doing another, burn your way round the map for a truly vintage look.

'HERE BE MONSTERS!'

I hope you have enjoyed this small project, keep watching as there are more to come using the Pause by Patty 'Under the Sea' Stencils


Wednesday, 15 February 2017

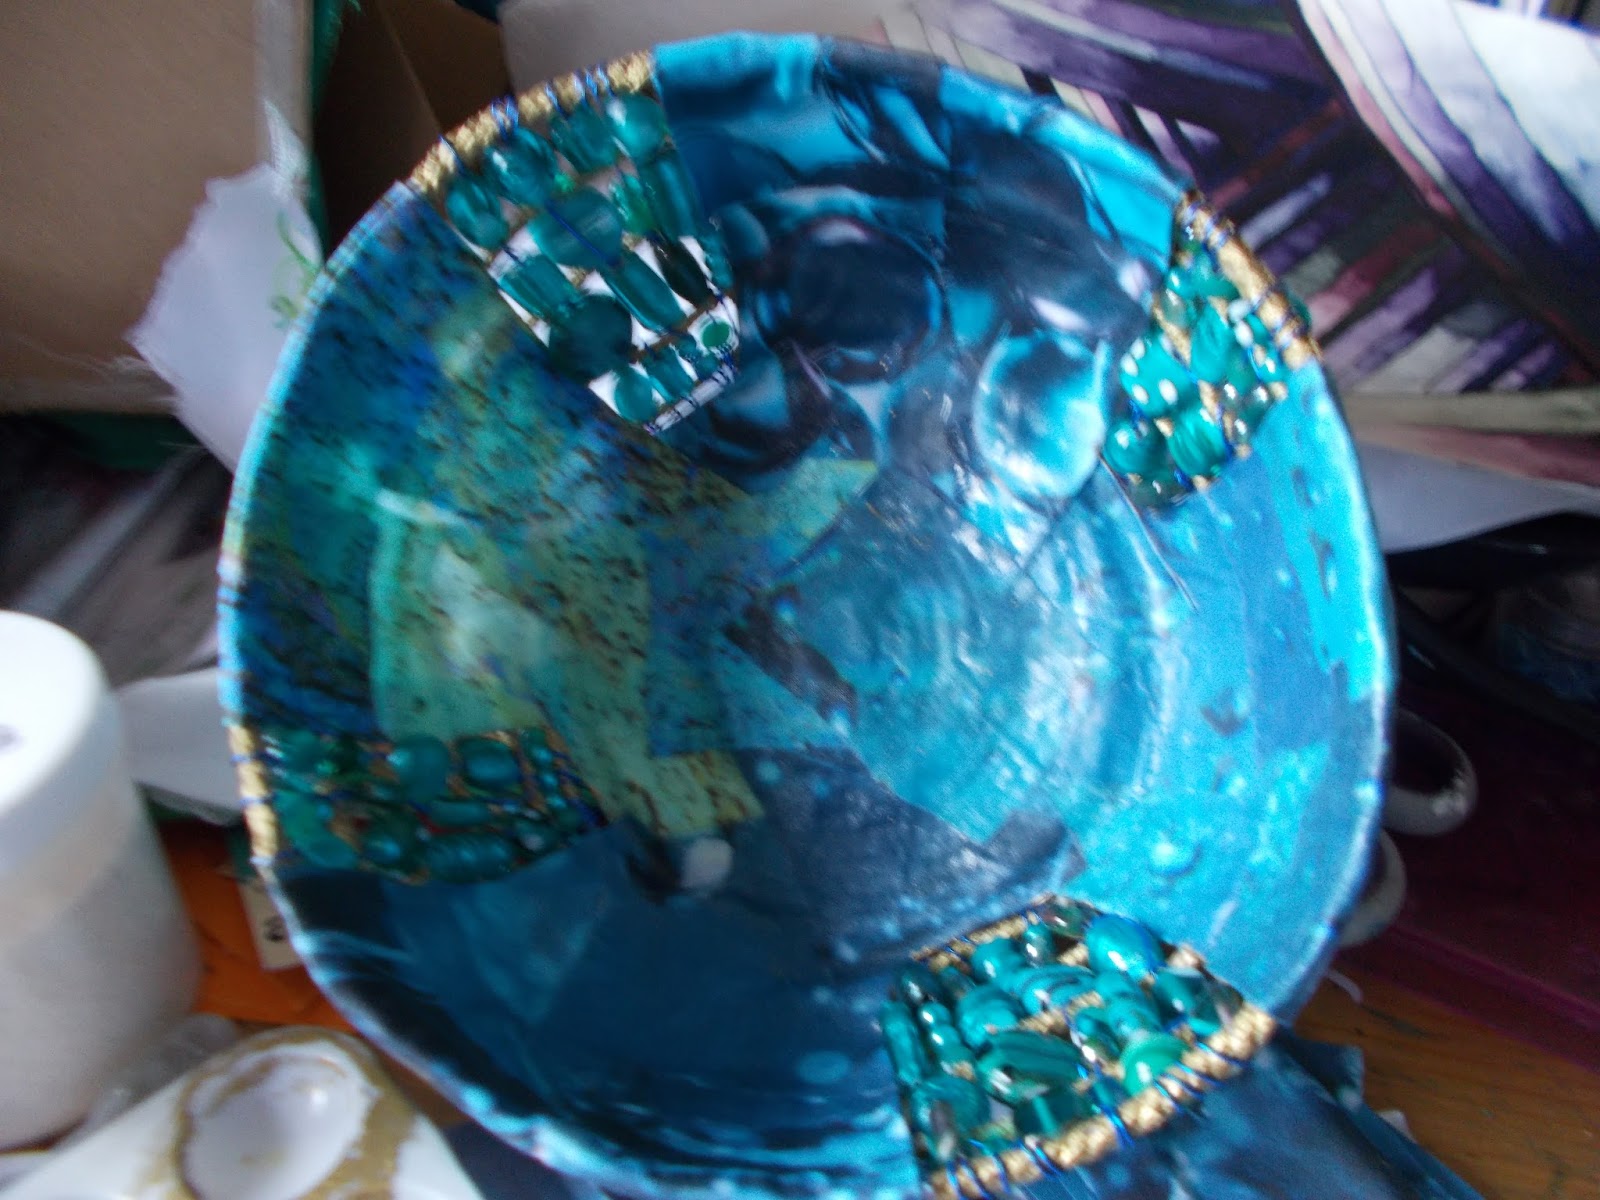
Powertex Printed Panel Beaded Bowl


Hiya gang, long time no speak, hope everyone has been crafting happy. I thought i would share this idea i had for using the amazing printed panels from Craft Yourself Silly.

Ingredients

* Transparent powertex
*Powertex varnish
* Gold metallic powder
* Craft Yourself Silly printed panels, choose your colour and chop half of the fabric into cubes
1cm thick cotton Braid
5mm thick cotton chopped into lengths
Lampwork beads in a colour to match the panels
Coloured wire

you will also need:
a bowl
clingfilm

* Available on Hochanda

And so it begins.........


Using a bowl designated for crafting and a permanant marker, divide your bowl and mark areas for beading, also mark in the top of the bowl...i have chosen to divide the bowl into four, one area to showcase each printed panel.


Line the bowl with cling film, if you are having trouble persuading the cling film to behave, rub a tiny amount of oil (any oil) over the bowl and the cling film will be held in place.


I'm short a pic here, but had gloves coated in powertex on and forgot to stop. Before you glove up, cut enough of the 1cm braid to ring the top of the bowl and to create a solid base. Coat in powertex and apply,  I found the braid at the top of the bowl a little pesky as it kept slipping so i fixed it in place as i applied the fabric peices.
Add rows of 5mm braid in the areas that will be beaded, then apply your powertex'd fabric. All the areas that are exposed i 'hemmed' by folding the edge of the fabric over for a nice clean edge.  I didnt worry about the top of the bowl as when the powertex is dry, i will pop it out of the clingfilm and trim the top neatly.


The inside of the bowl dried and the top trimmed.


Make a paint using a small amount of Varnish and the Gold powder (gold was my choice, bronze or silver would be equally effective) and paint all the exposed braid...this is optional if you like the original braid, leave it as is.


Now for a bit of beading, cut lengths of wire that are the length of the side of the bowl x 2 (i.e up and down) leaving a tail to be hidden at the bottom. Weave in the lampwork beads so that they fit into the gaps between the pieces of braid.


Powertex the remaining fabric to the outside of the bowl, remembering to fold in exposed edges and to ensure that the wire tails are thoroughly hidden between the two layers of fabric. At the top off  the bowl, fold over the fabric to the inside to neaten the rough top edge. Leave to dry.


Enjoy your finished bowl and remember that 3 week later it will be weather safe...the lampwork beads are glass so they should be fine outdoors.


With a little prep (15 mins max), the actual work on the bowl takes very little time, half an hour for the inside and half an hour for the outside at the most. The bead weaving takes some time and is a little fiddly but again it is optional and could be left out. I personally enjoyed the effect as the beads enhanced the colour of the panels. The Craft Yourself Silly team have an amazing range of fabrics on Hochanda and there are Powertex shows to inspire as well.. Have fun, make a mess....and dont forget to share your makes.😉

Wednesday, 21 December 2016

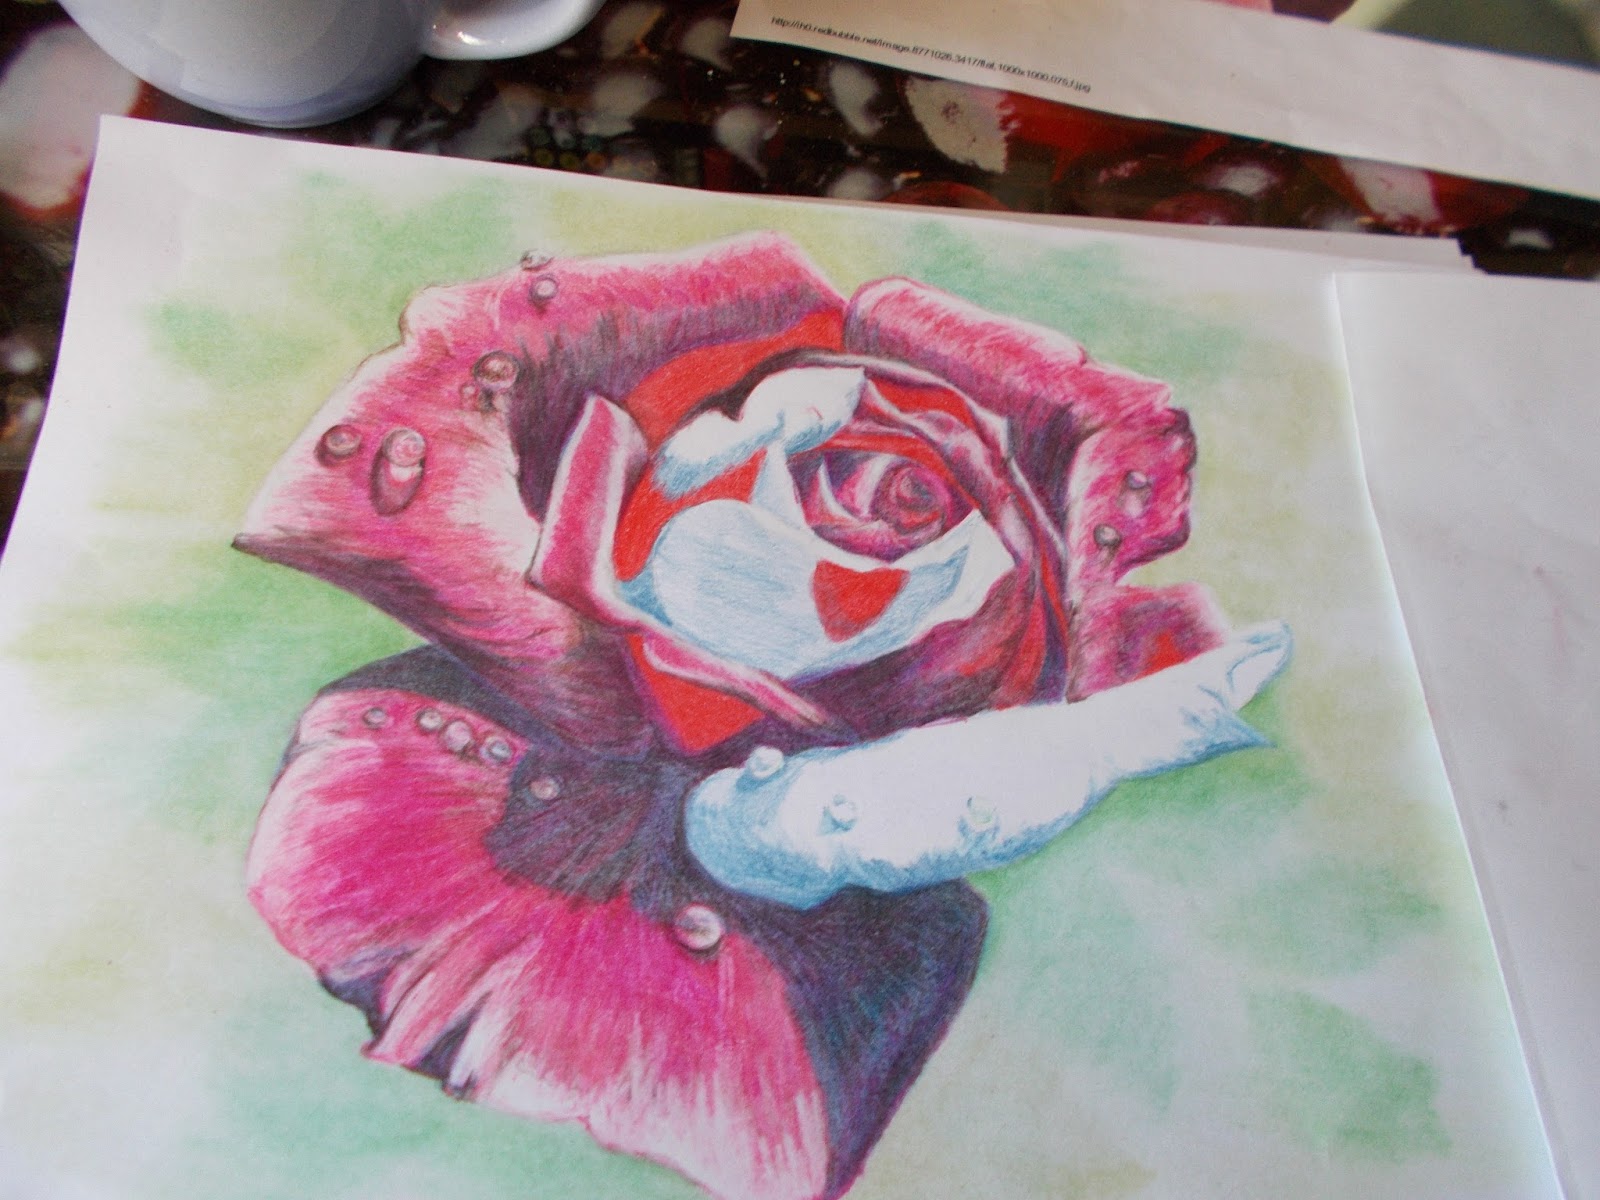
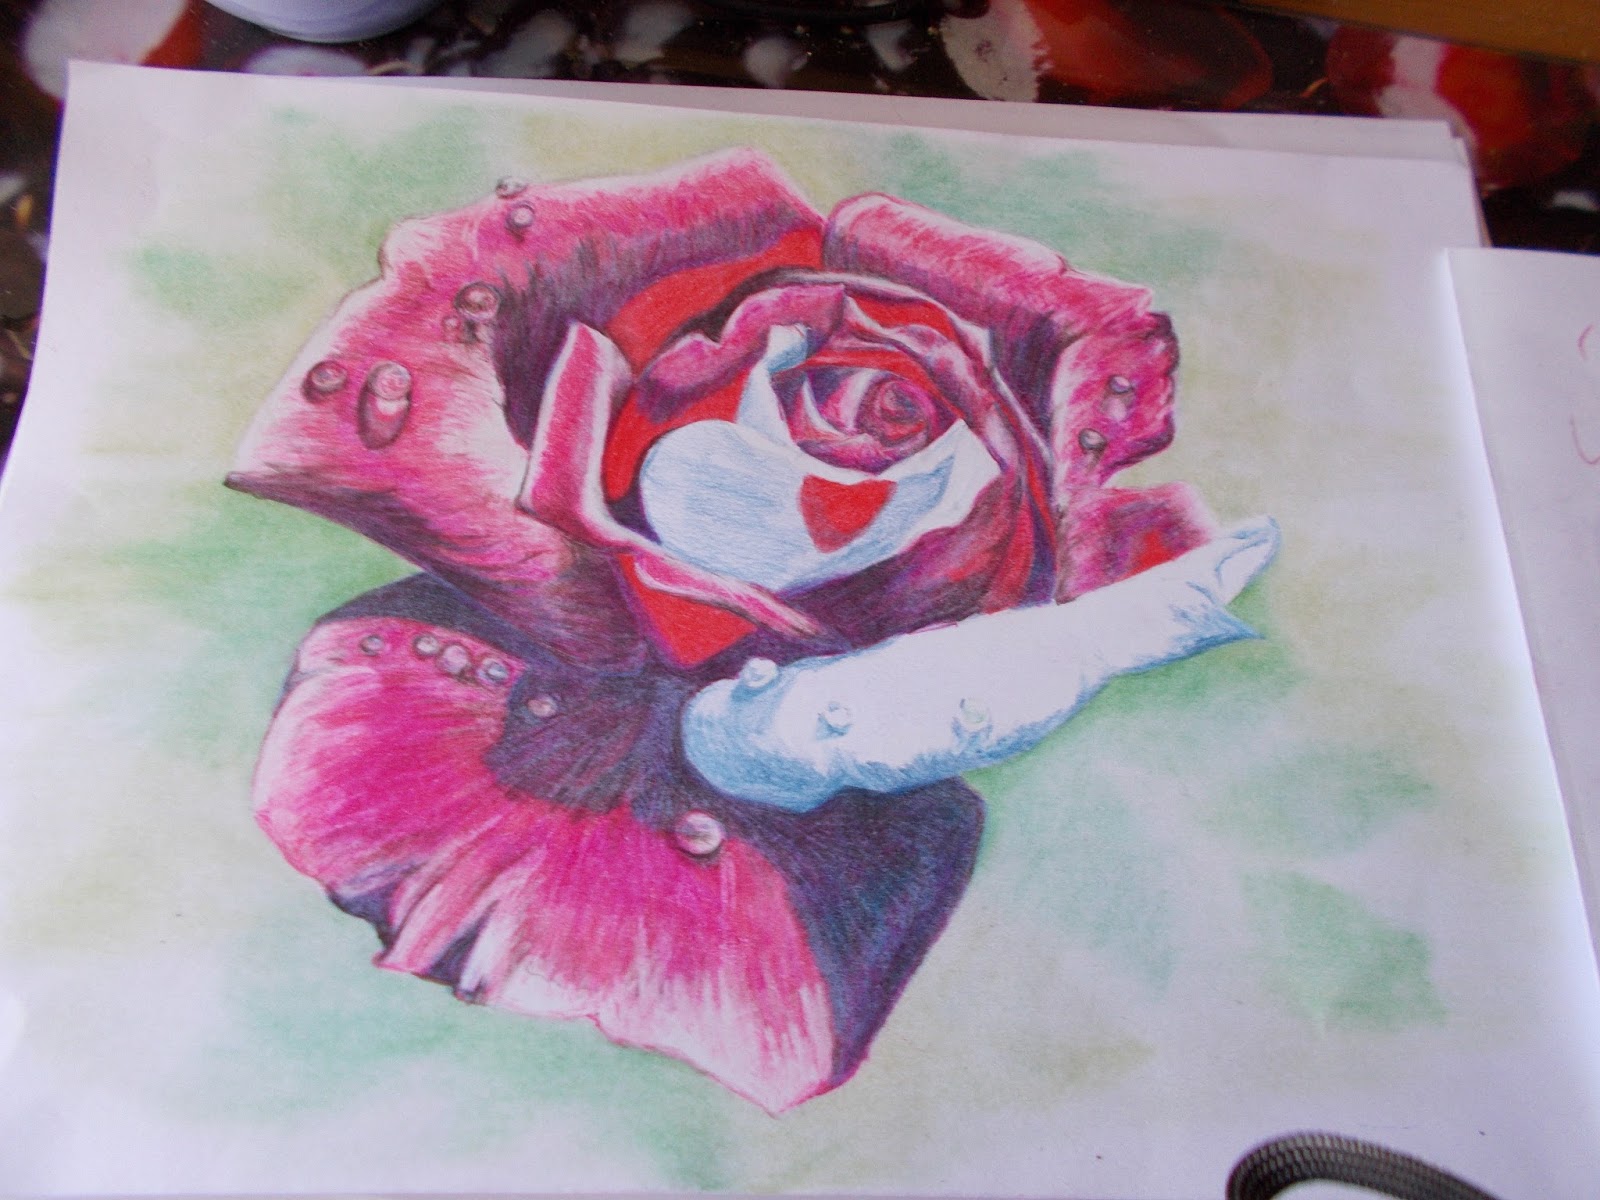
Red Rose Colouring Project

Hiya, i know i havent blogged for a while but ive just finished this rose and thought you might enjoy seeing how i went about it

*Spectrum Noir ColourBlend Pencils 
*Blending Solution
*Blending Stumps
Blending Pencil
White Card..Good Quality
Pencil
White Pen(Sakura Souffle*)
Heat Gun

*Items available from Hochanda

Phase 1

Find a picture of a rose you really like and print 2 copies.....use one to trace the rose onto your card


Phase 2

Use Jade and Pistachio and shade in hints of leaves in the background, a blending stump dipped in blending solution is then used to blend out the pencils and blur them a little...a quick blast with the heat gun...ive found it helps fix in the colour and allows you more blending layers.


Phase 3

Use Twilight Blue to block in the areas of shadow on the rose and white to add the areas of light....ive found this is important as the white almost repels other colours when you begin blending with the solution and remains strong....as always a blast of the heat gun to seal it

Phase 4

Start blending in the base colours....Cranberry, Fushia, Cherry Red, White, Black and Twilight Blue, starting with the petal that lies behind others....once you are happy with the colours use the blending pencil to blend the colours together and then a paint brush dipped in blending solution to clean the white and finish the blend....hit it with the heat gun again after each petal to dry off the solution as you cannot work another petal until the solution is dry (plays havoc with your pencils) Note: always try to move your pencil strokes in the direction of the petal shape, it makes the shading easier and the petals more alive.


Phase 5

With the base..pinker colours laid in, its time to redden and darken the rose using, Black, White,Rose Red and Poppy, again work petal by petal, blend with the blending pencil and finish with a paintbrush dipped in the blending solution....Heat gun action as always.

Phase 6

Using Just the Black go round the shadows and darken where required...dont blend just hit with the heat gun


Phase 7

Back to the background, use the greens again as well as black and grey to build depth and shadows
Blend with the blending stump for the slightly blurred effect. Hit with the heat gun.


Finishing Touches

Use the black to go round and darken the shadows on the raindrops and a white souffle pen to brighten the raindrop highlights and areas of white on the rose....no blending or heat gun...then sign and date your work.

There now, i hope you enjoy and feel inspired to have a go yourself...don't be scared and do play on scrap card before diving in...the Colourblend pencils are amazing to work with and a fantastic range of colours. Look forward to seeing what you do. 

Wednesday, 16 November 2016

Oat and Peanut Butter Cookie Recipe


Ingredients

8oz          Soft Butter
8oz          Soft Brown Sugar
8oz          Caster Sugar
2              Eggs
1tspn       Vanilla Essence
6oz           Plain Flour
6oz            Oats
1.5tspn      Bicarb of Soda
10oz          Crunchy Peanut Butter


Method

Preheat Oven to 180 degrees
Cream Butter and Sugars
Add all other ingredients and mix till combined
Grease baking sheet
Place walnut size balls of biscuit mix onto baking sheet....spacing to allow for spreading
Press flat and cook until golden brown (approx 5mins in fan assisted)
Stand for a few minutes
Turn onto a wire rack
Eat 

Note, if you dont like oats, simply swap out the 6oz Oats for another 6oz Plain Flour

Friday, 26 August 2016

PowerTex Projects...onwards


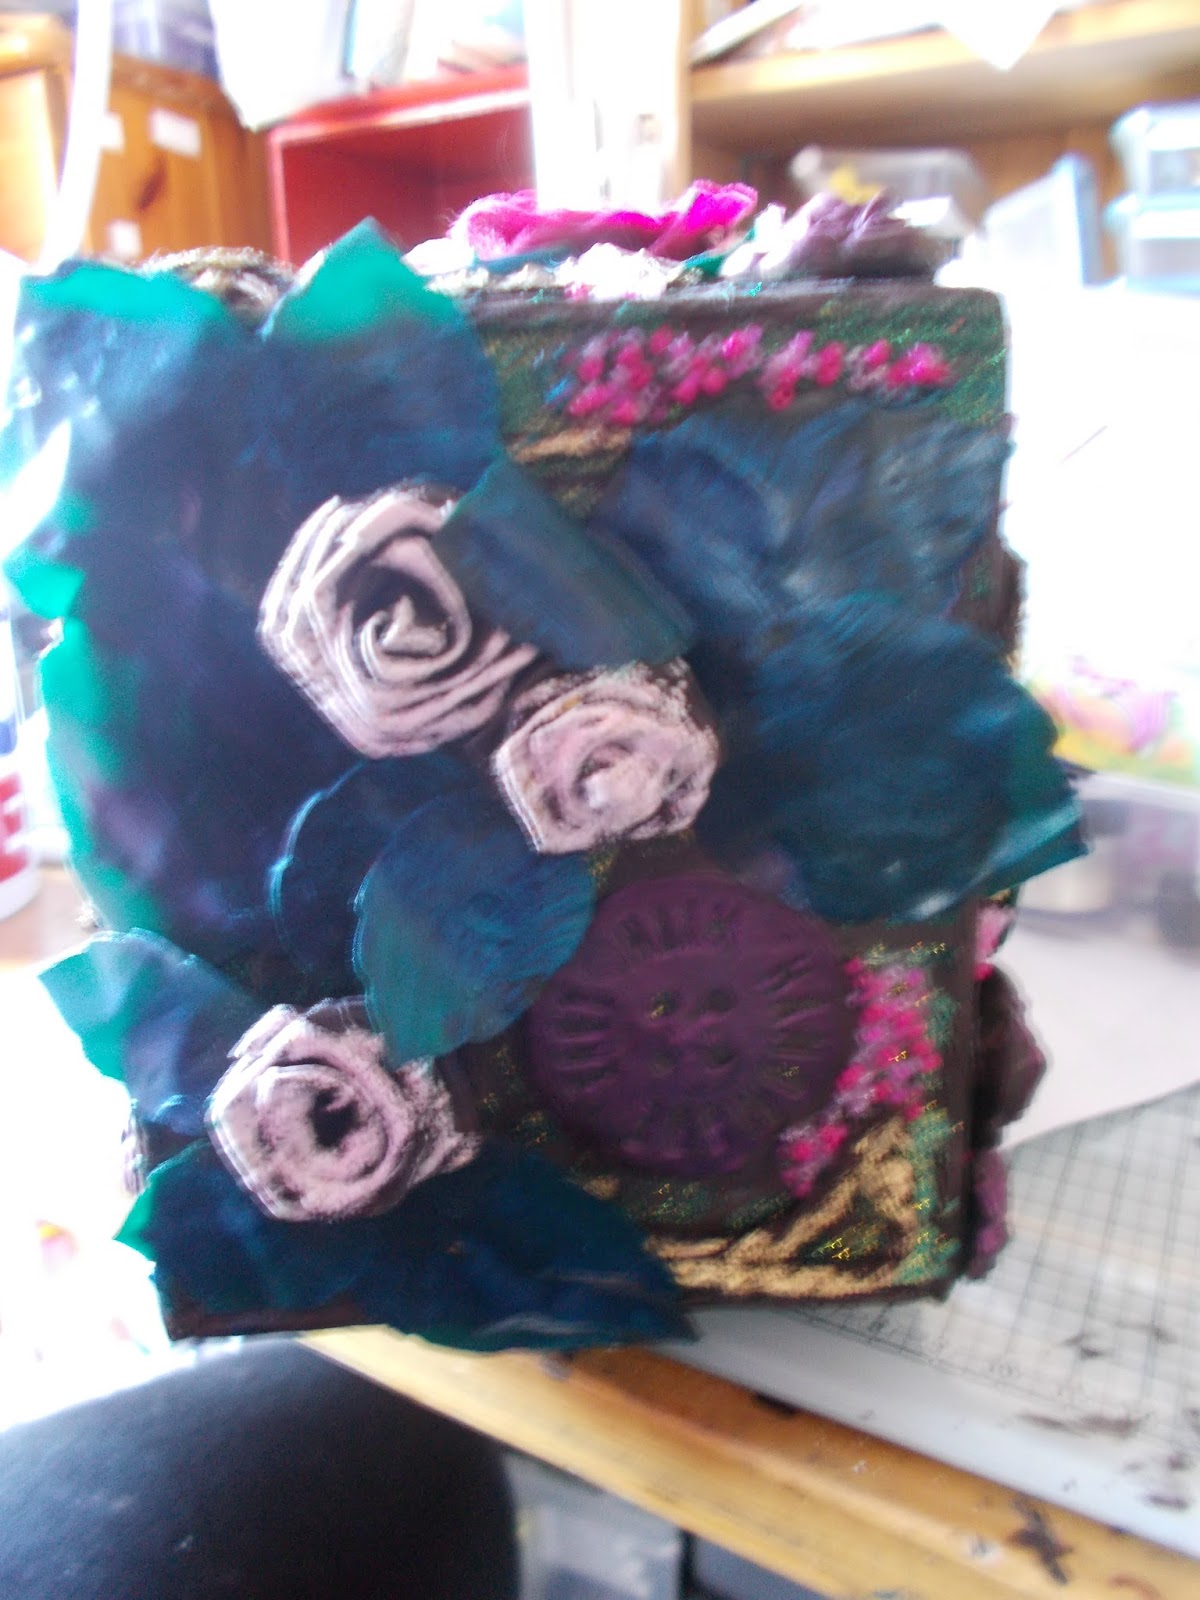
Because you have seen many of my boxes in previous blogs i'm just posting images here of ice cube boxes 4 and 5 and two quickie projects i have made as gifts......if there is something new or unusual i will add comments. And there are Powertex Kits on Hochanda's website if you fancy a play.

Ice Cube Box Number 4....Purple Dreams


Ice Cube Box Number5....Pink Lucy


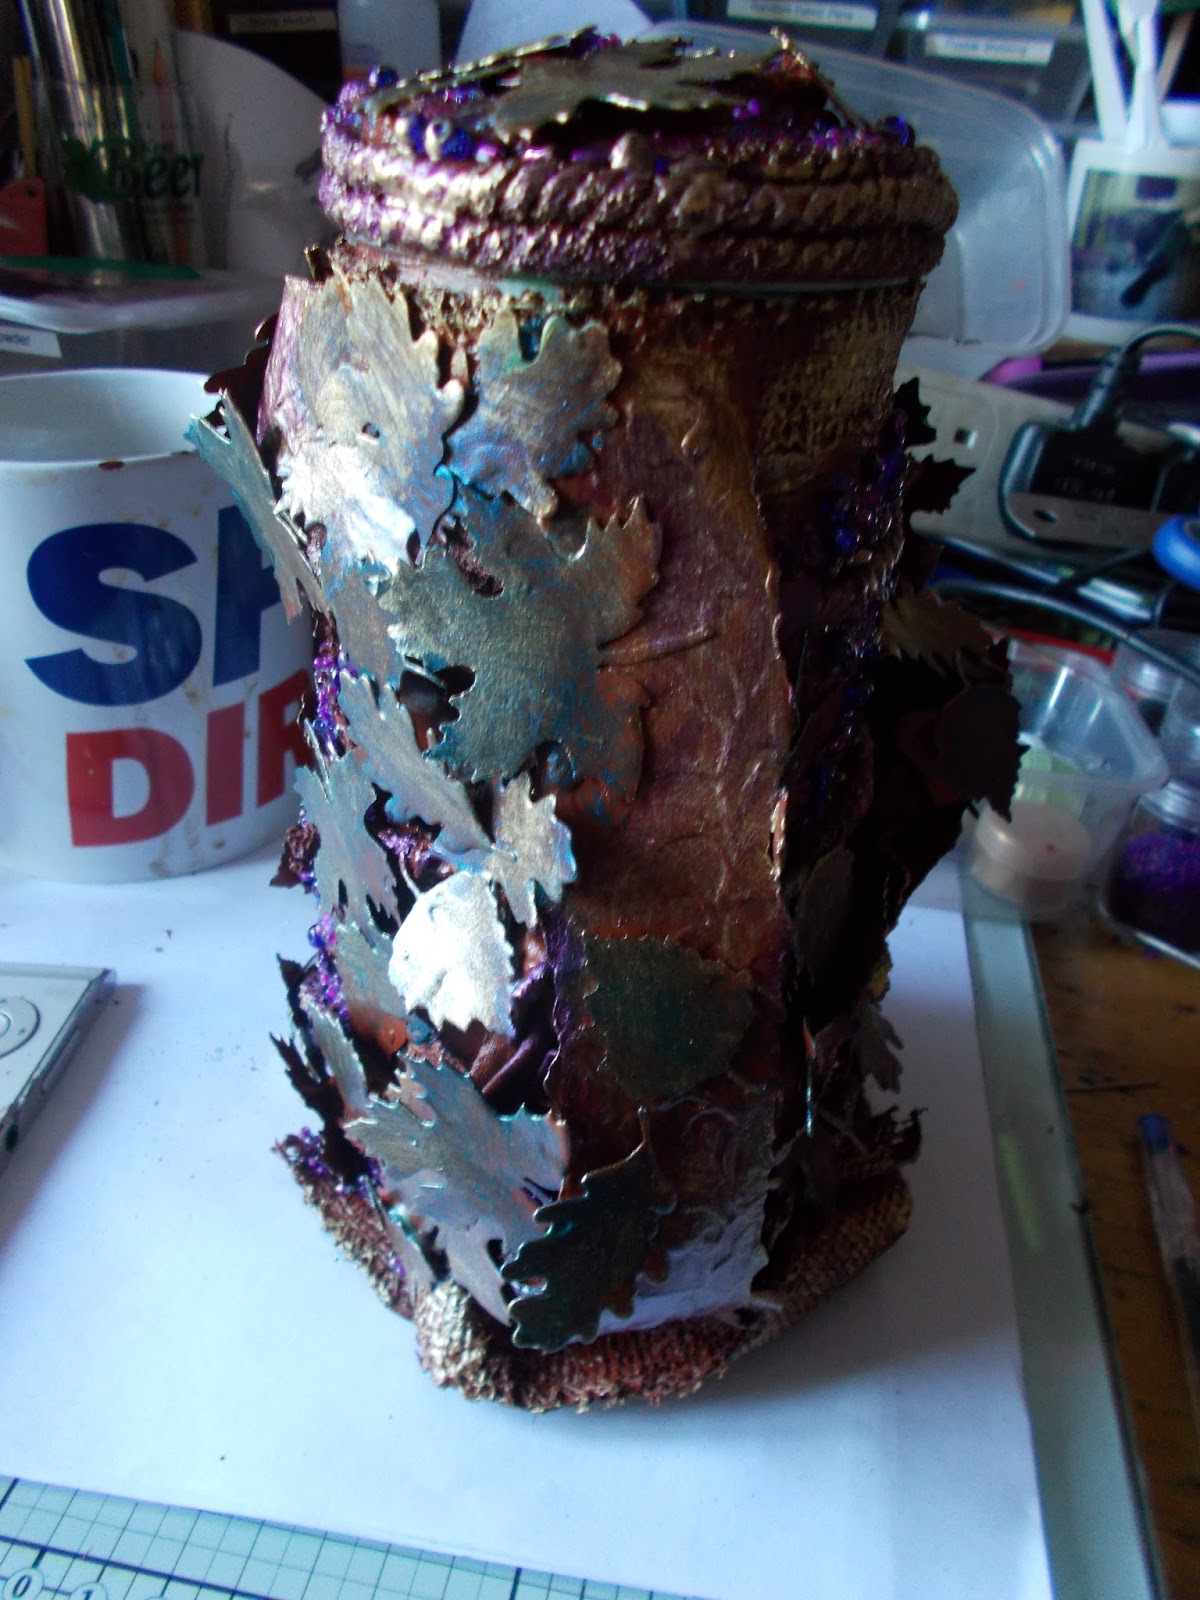
The next two projects are covered wafer tins...i wrapped them in masking tape before adding powertexed hessian and fabrics, and decorated

Tin No1


Tin No2


Well thats us uptodate with my Powertex play....i have to admit that i do love blobbing on clear powertex and then loading it with beads...it looks cool and its a great way of using up bead odds and ends. I hope you like the pictures and any questions are welcomed..Catch you soon.